PowerApp: Start using Power Apps as Input form


Basic start to create Microsoft Power App from Scresh. This example will show how to create input form and showing data from input.
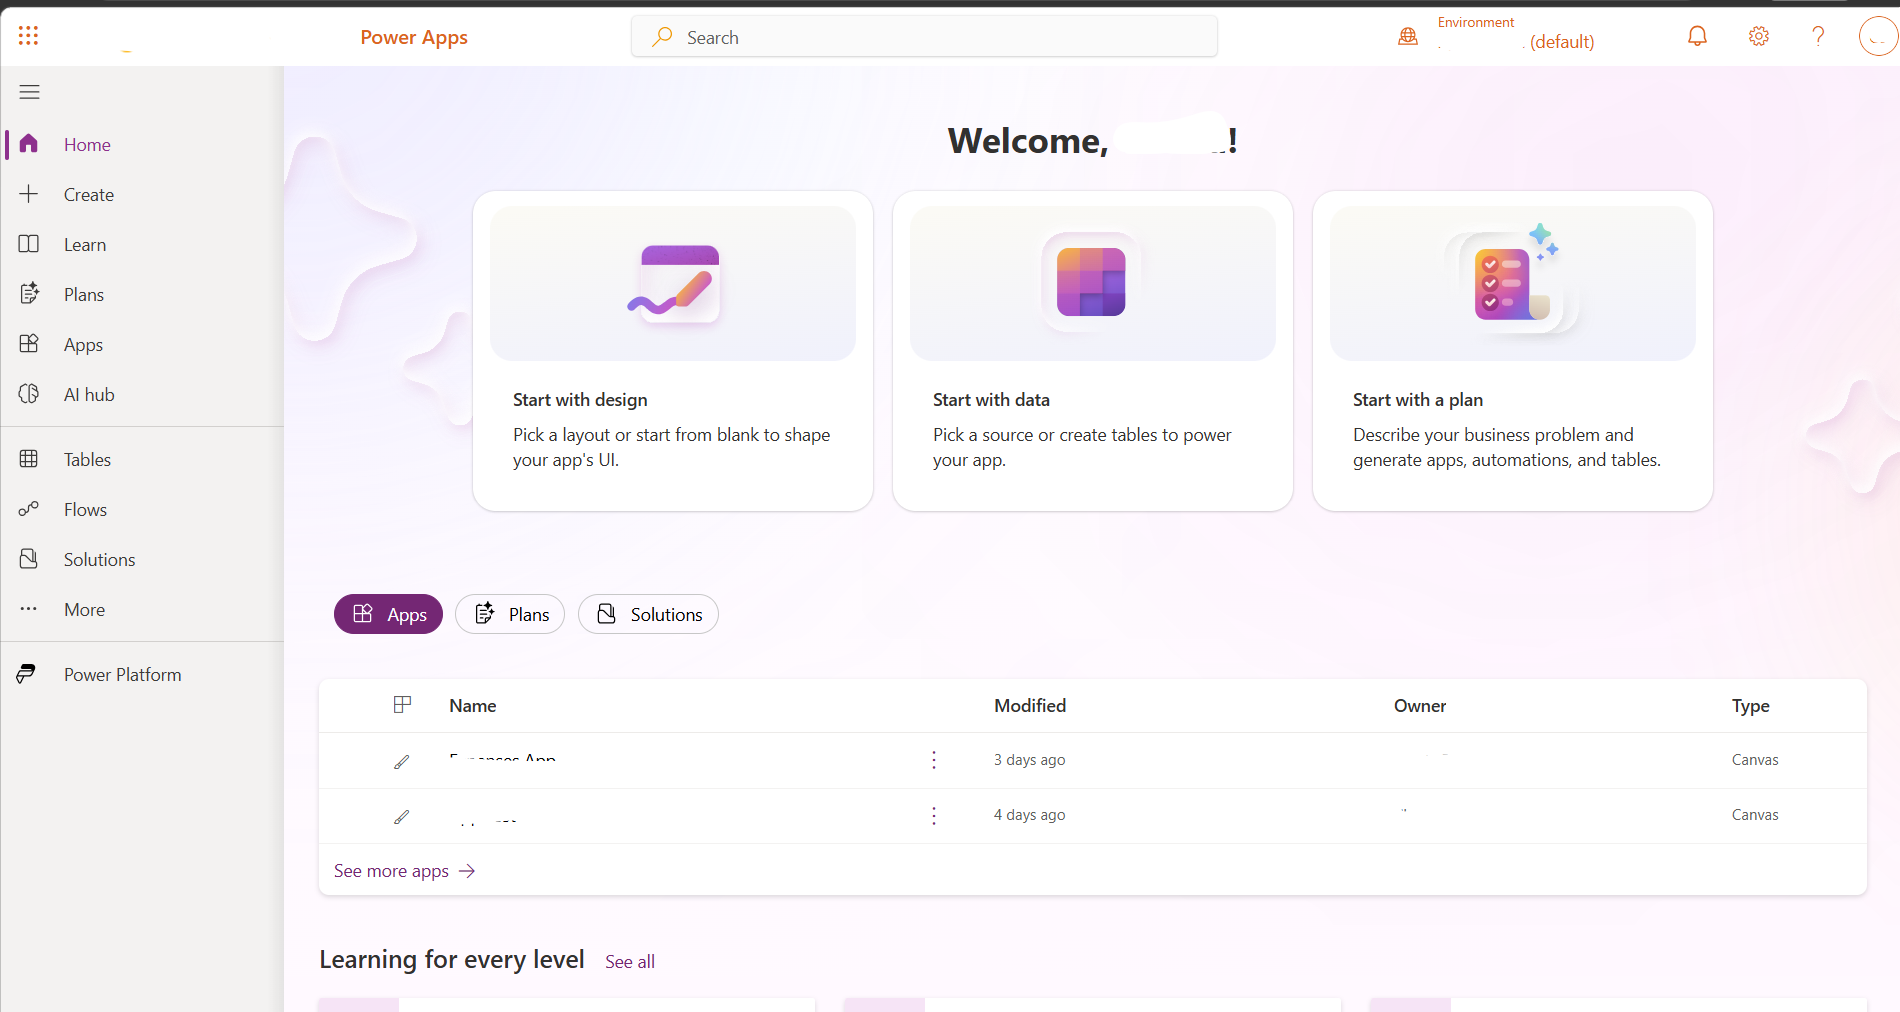
- Login to Power Apps.
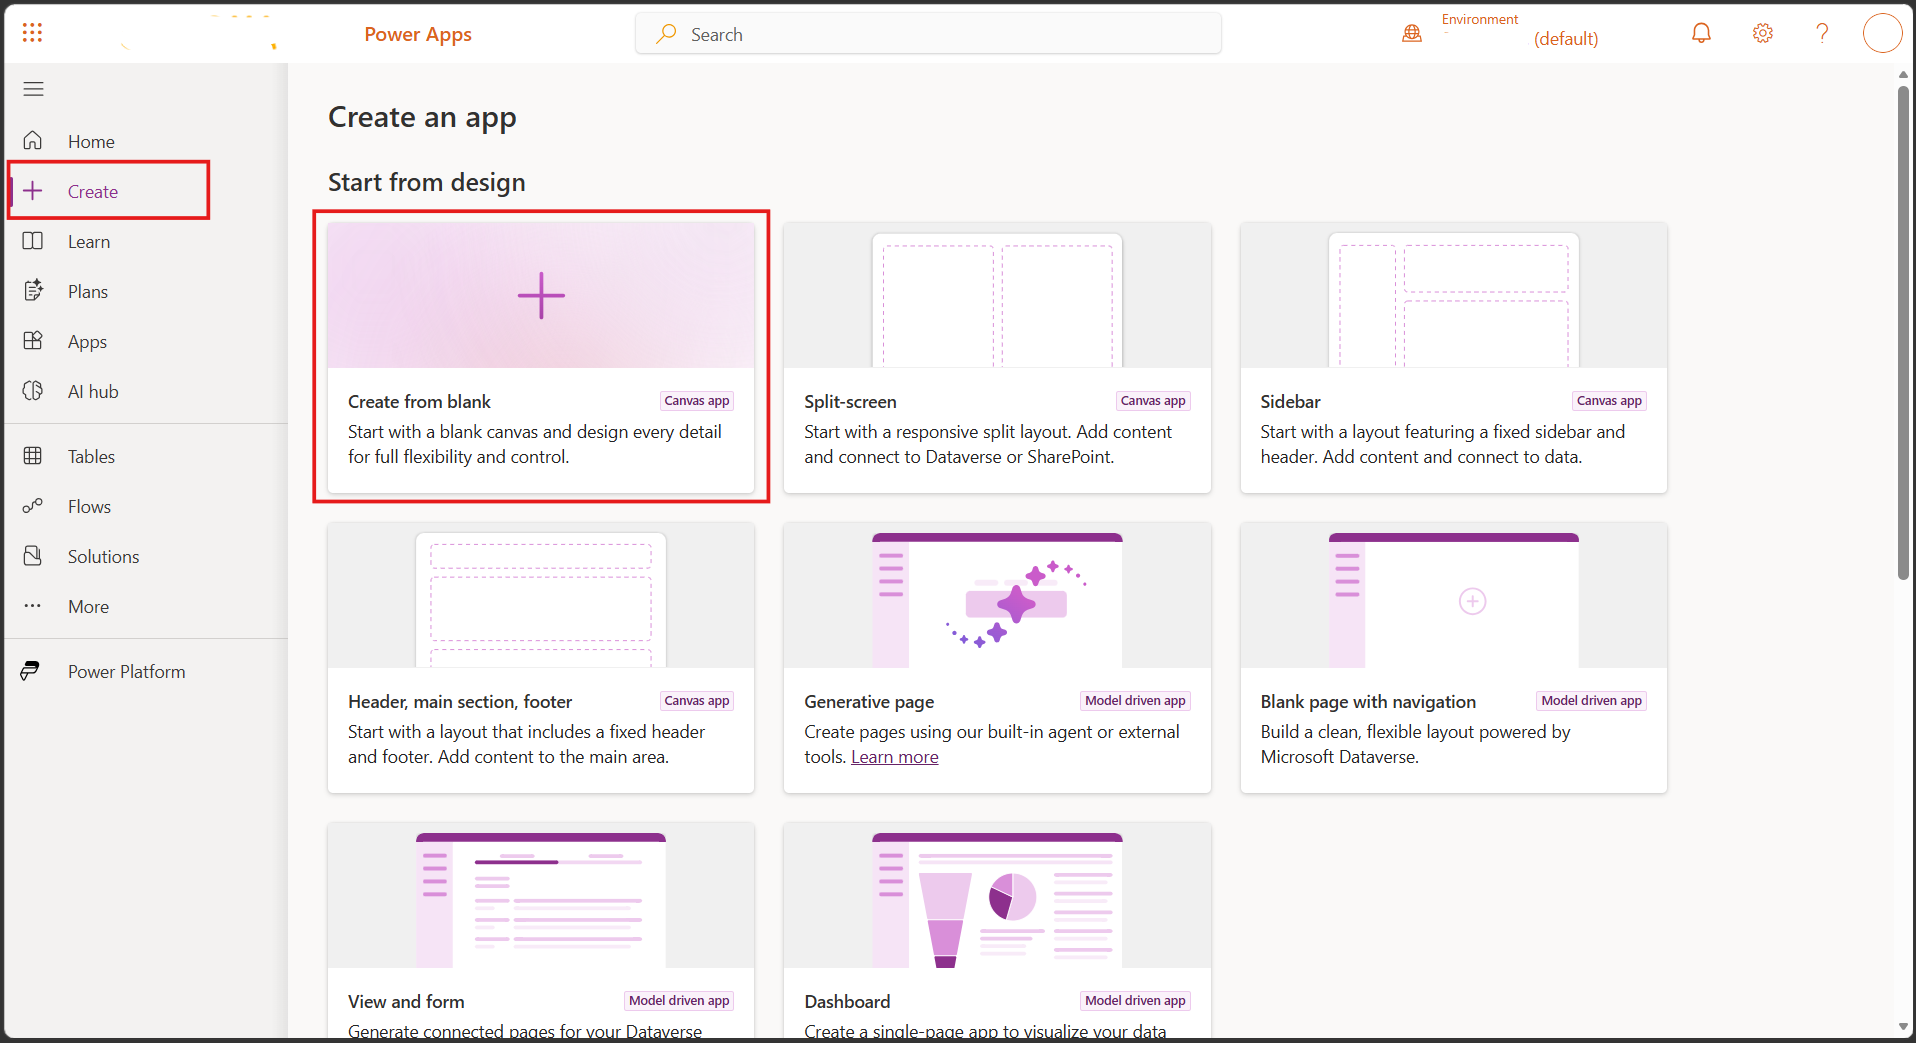
- "Create" > "Create from blank (canvs app)".
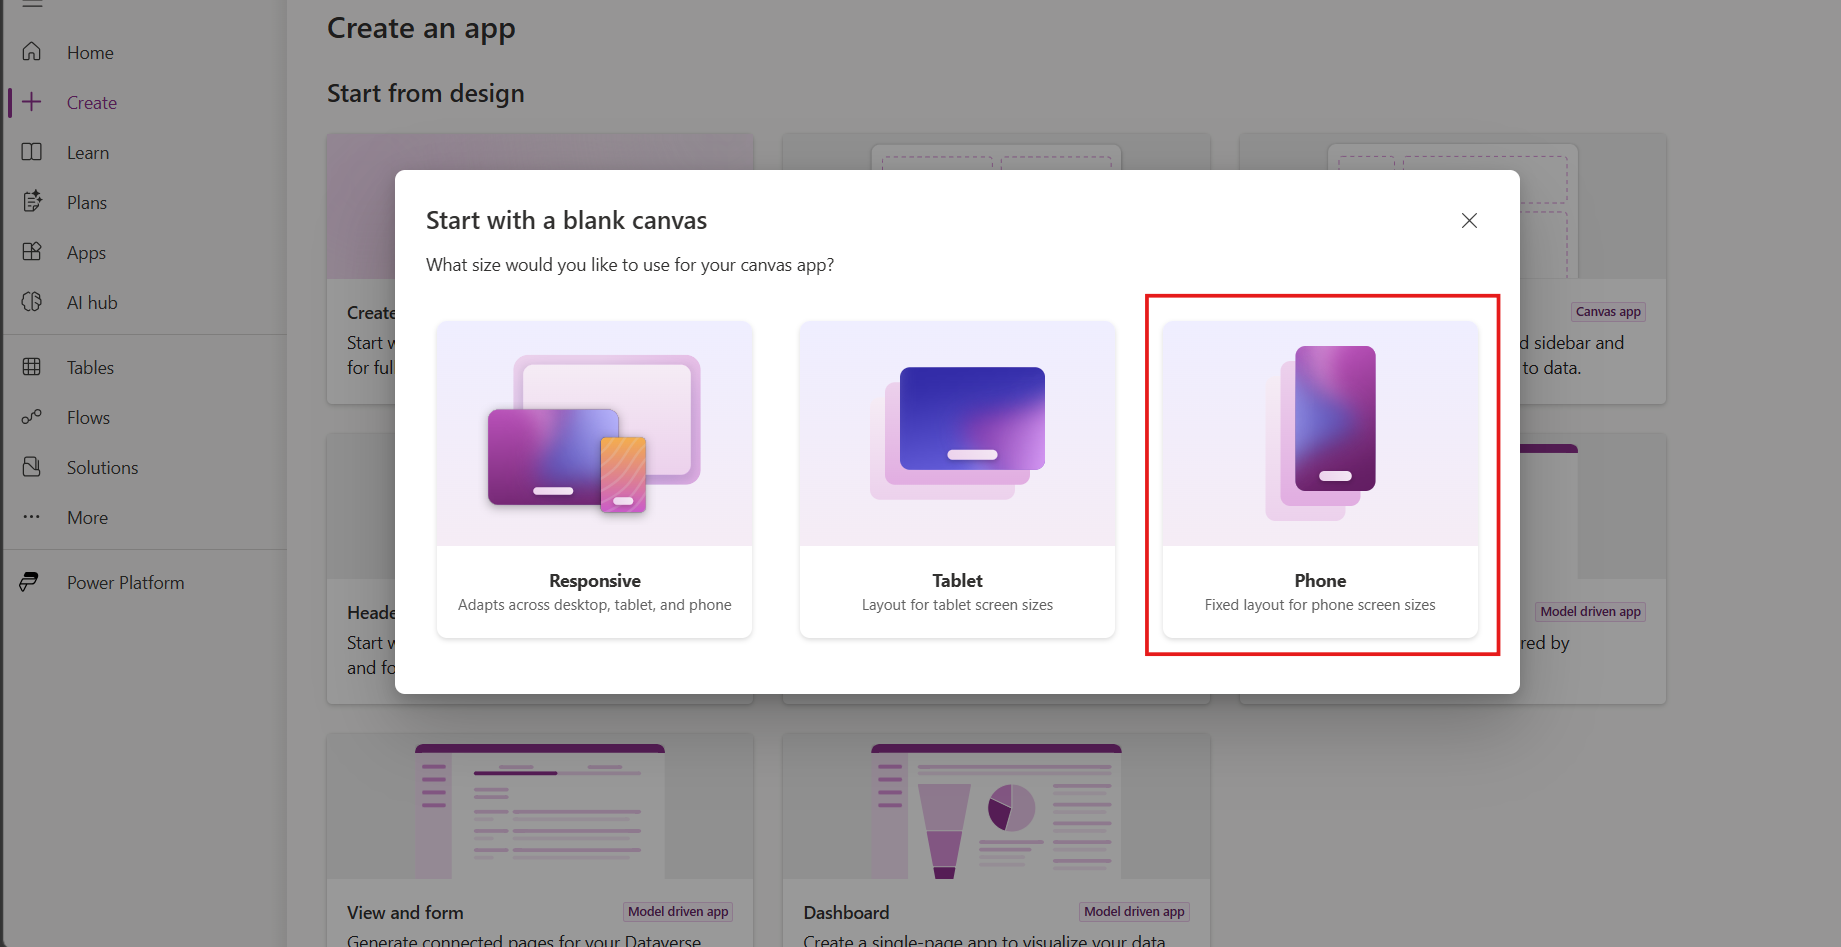
- This example will using size as Phone.
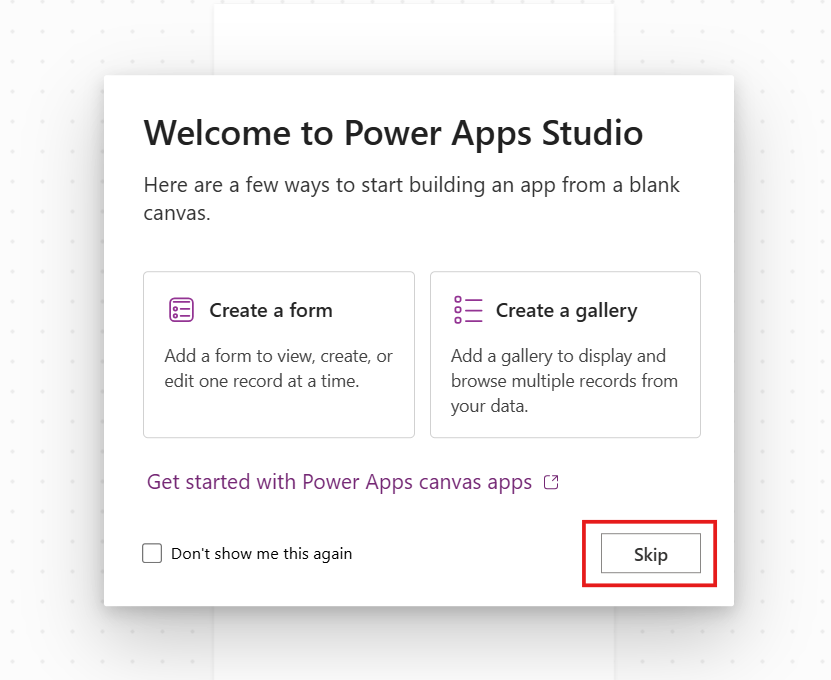
- Skip.
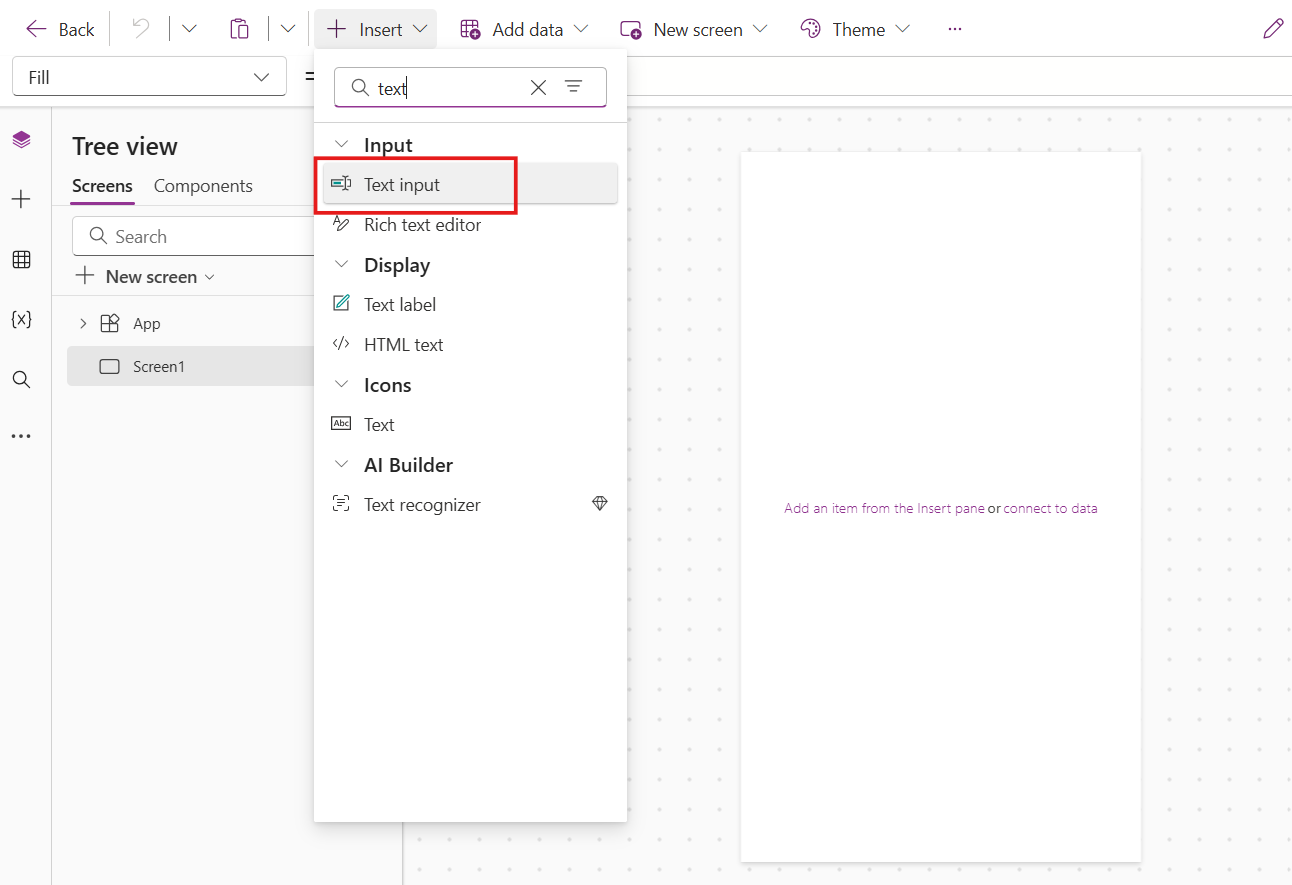
- Insert "Text input".
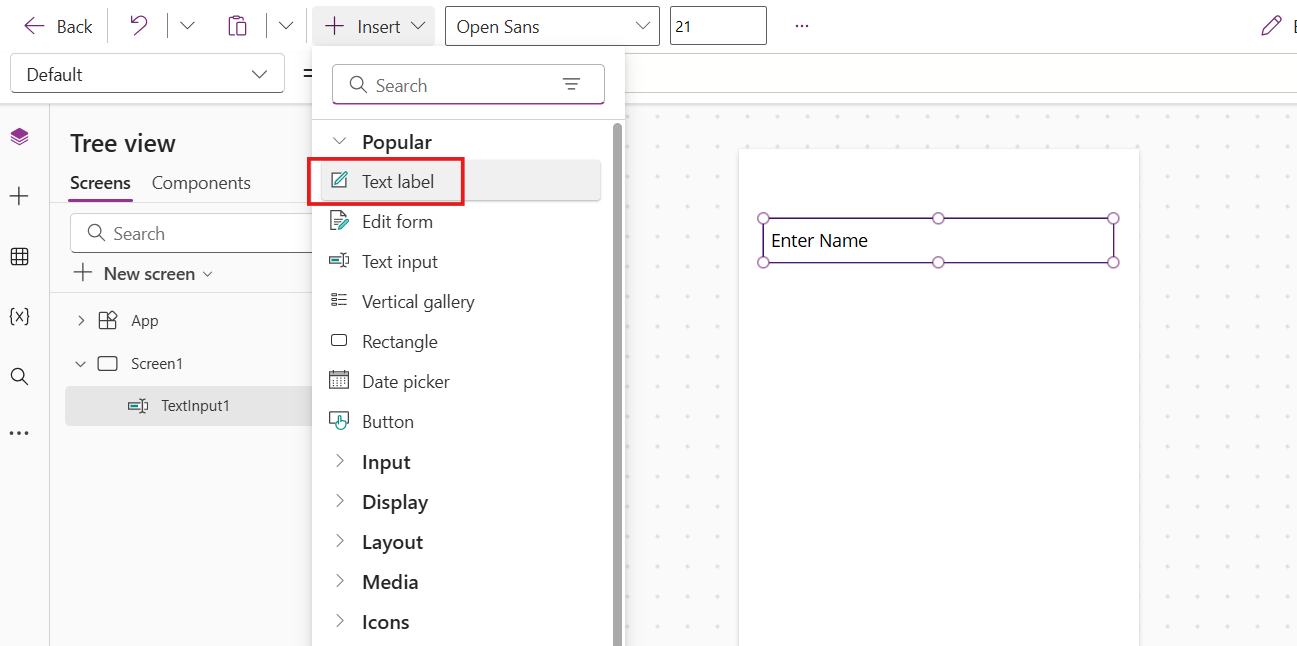
- Insert "Text label".
- Set propertis on "Text label".
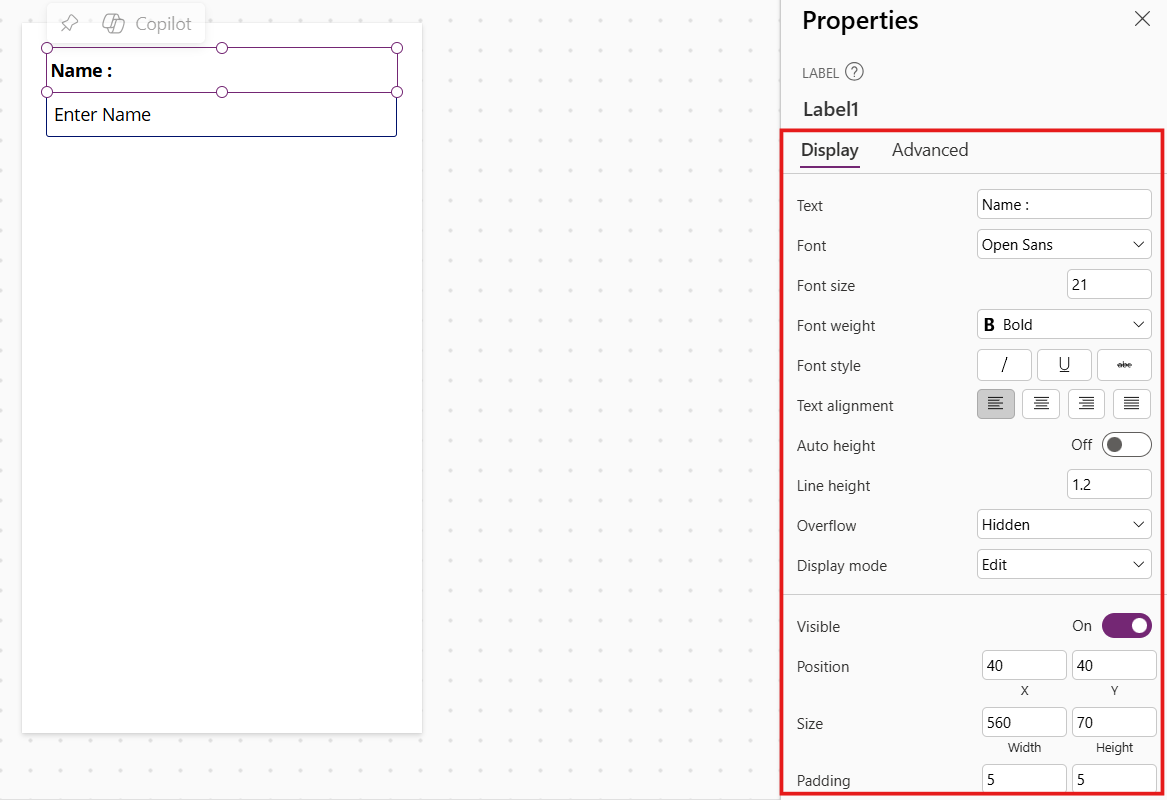
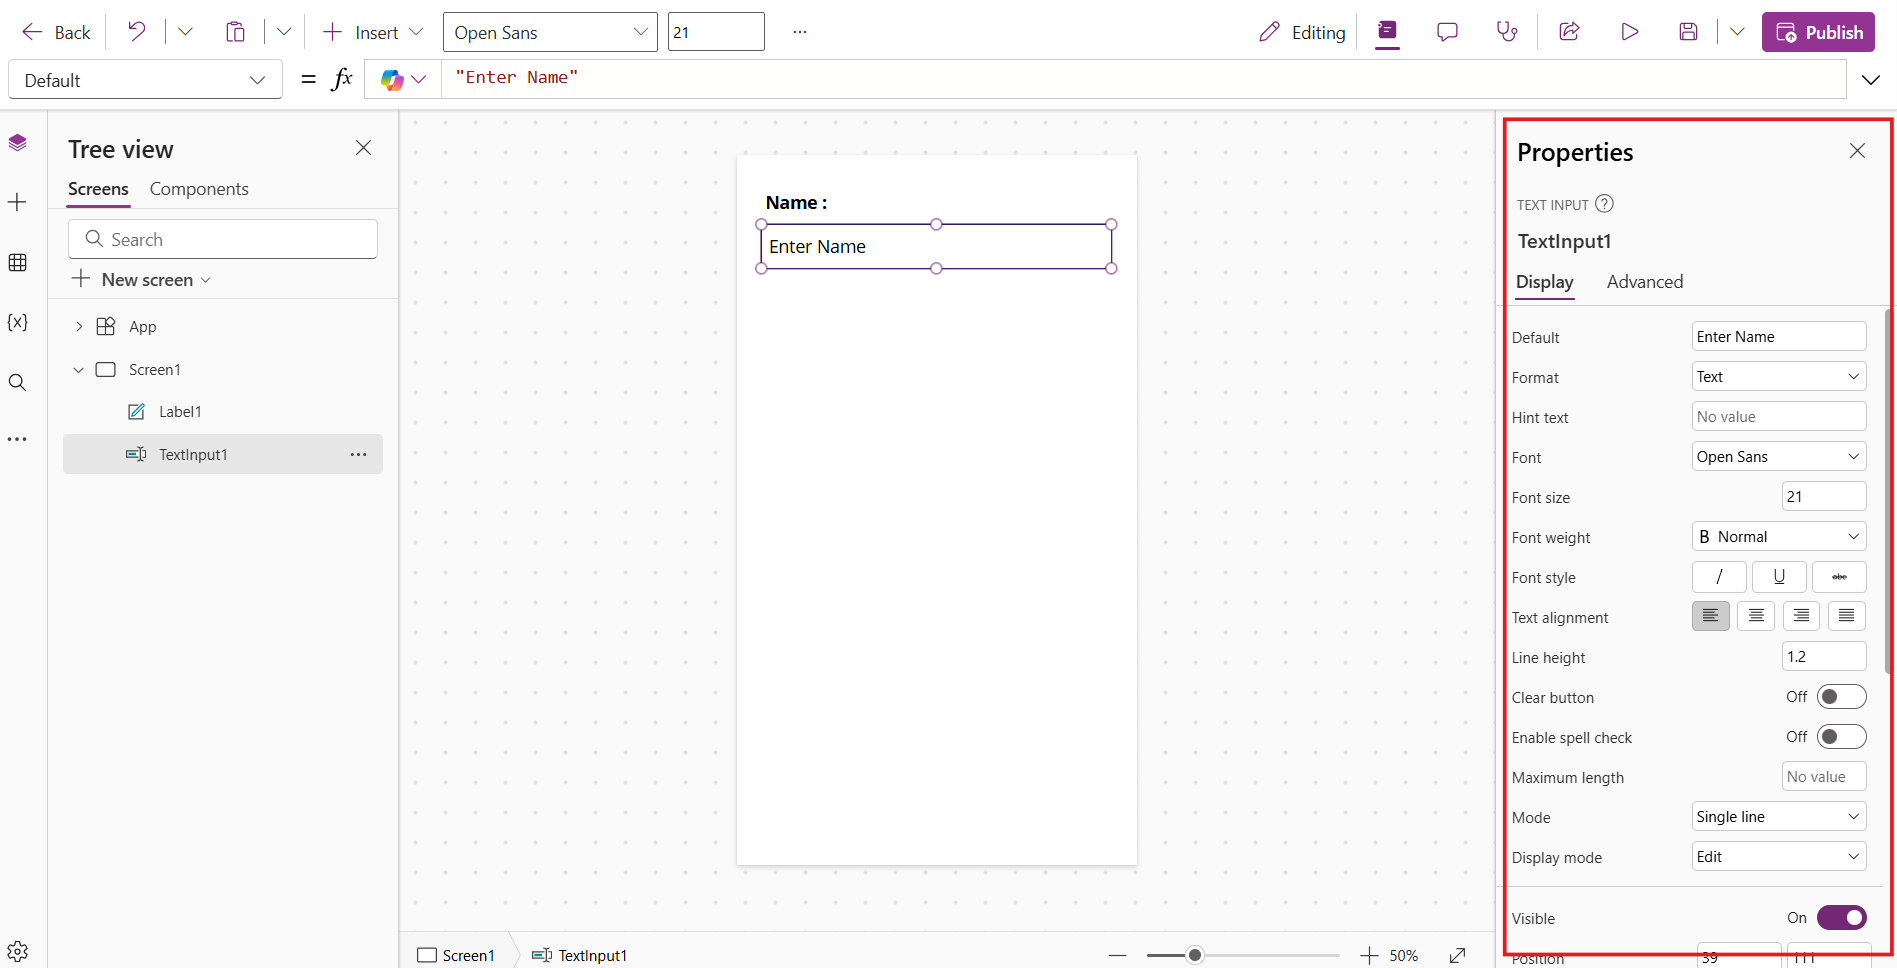
- Set propertis on "Text input".
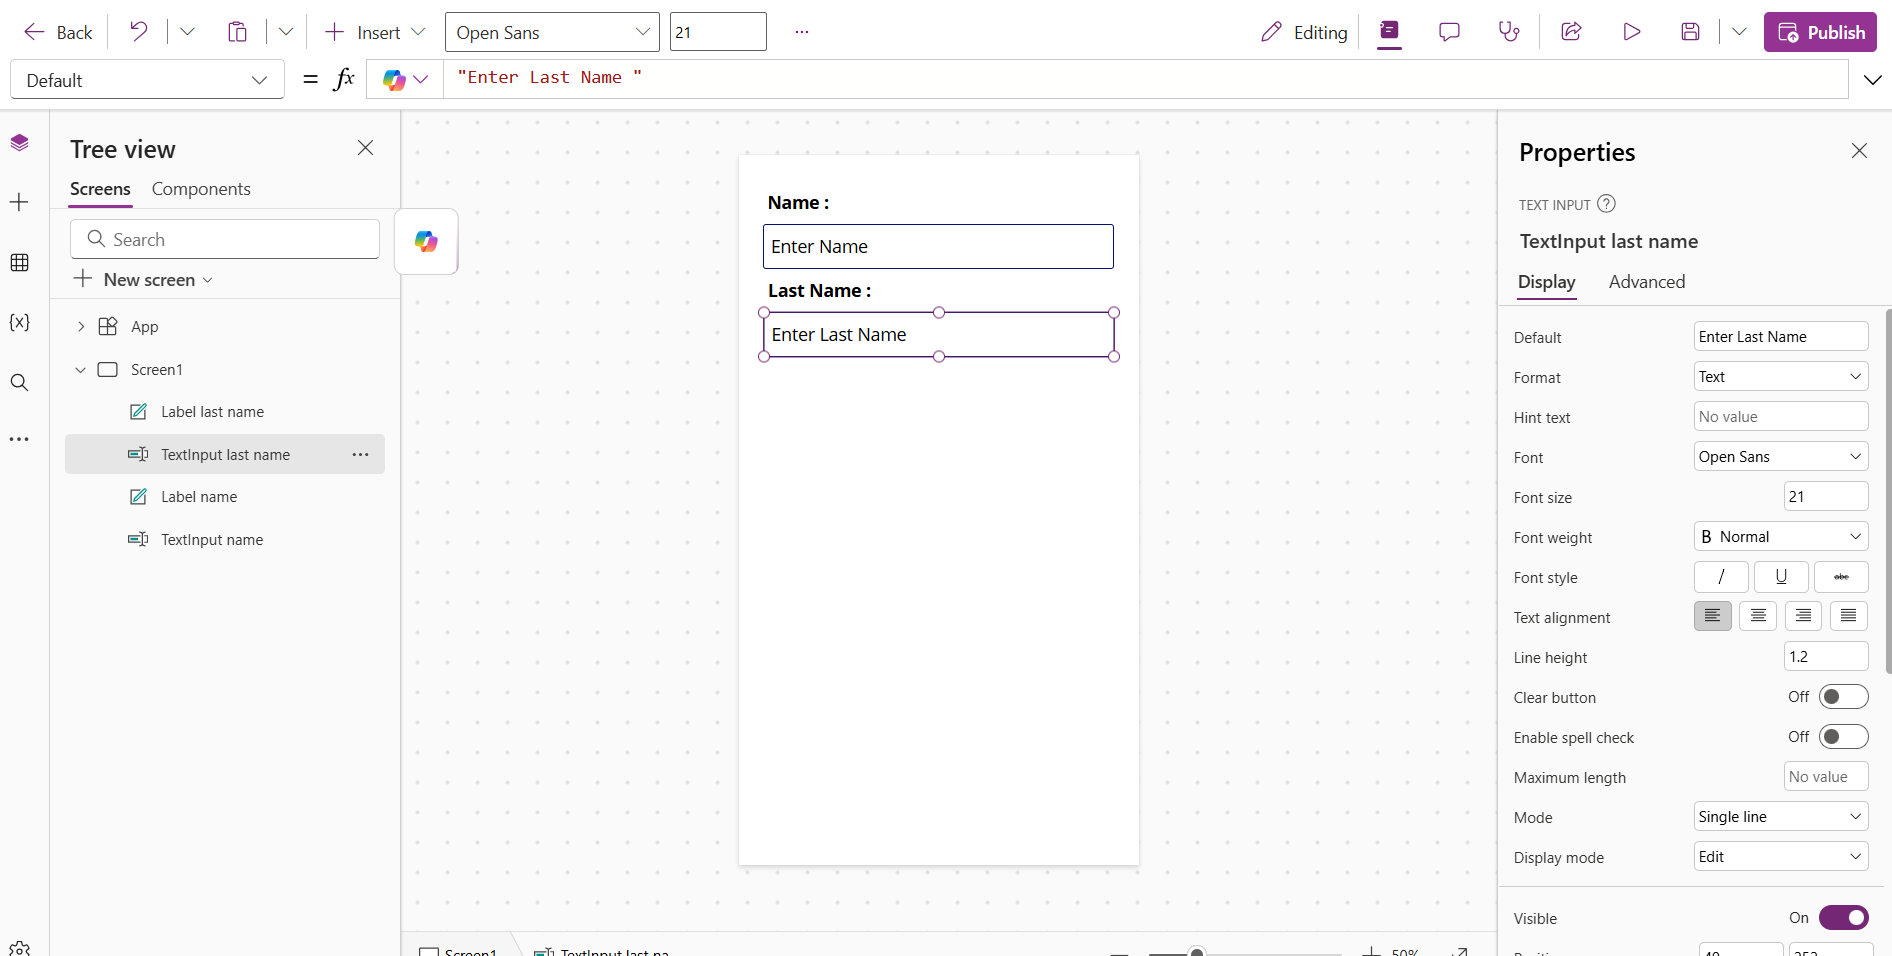
- Repeat step 5-8 for create last name.
- Insert "Date picker" for birth day.
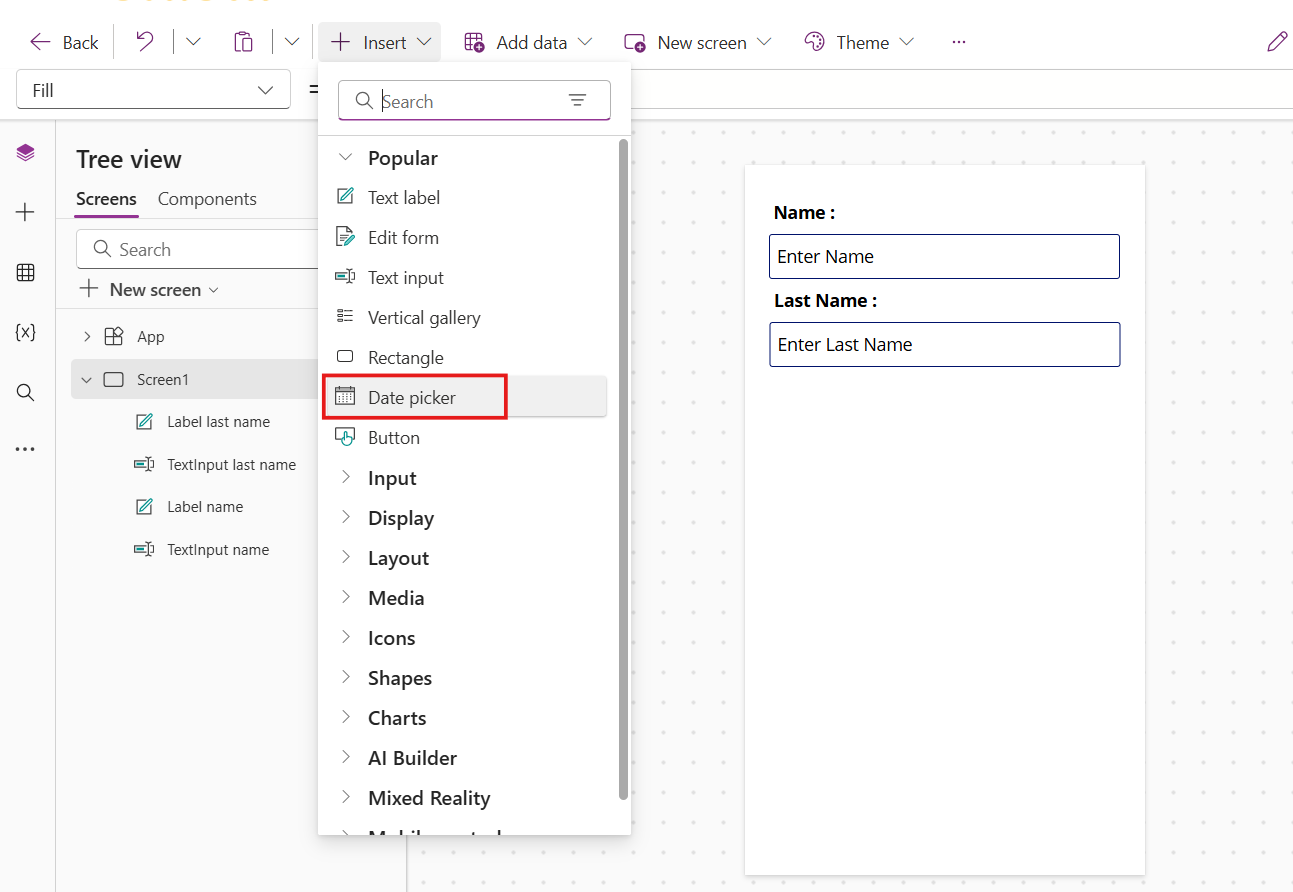
- On Date picker you can change formate display on Date picker box by remove "DateTimeFormat.ShortDate" (this use format as your computer ShortDate format) and replace with your format ("dd/mmmm/yyyy")
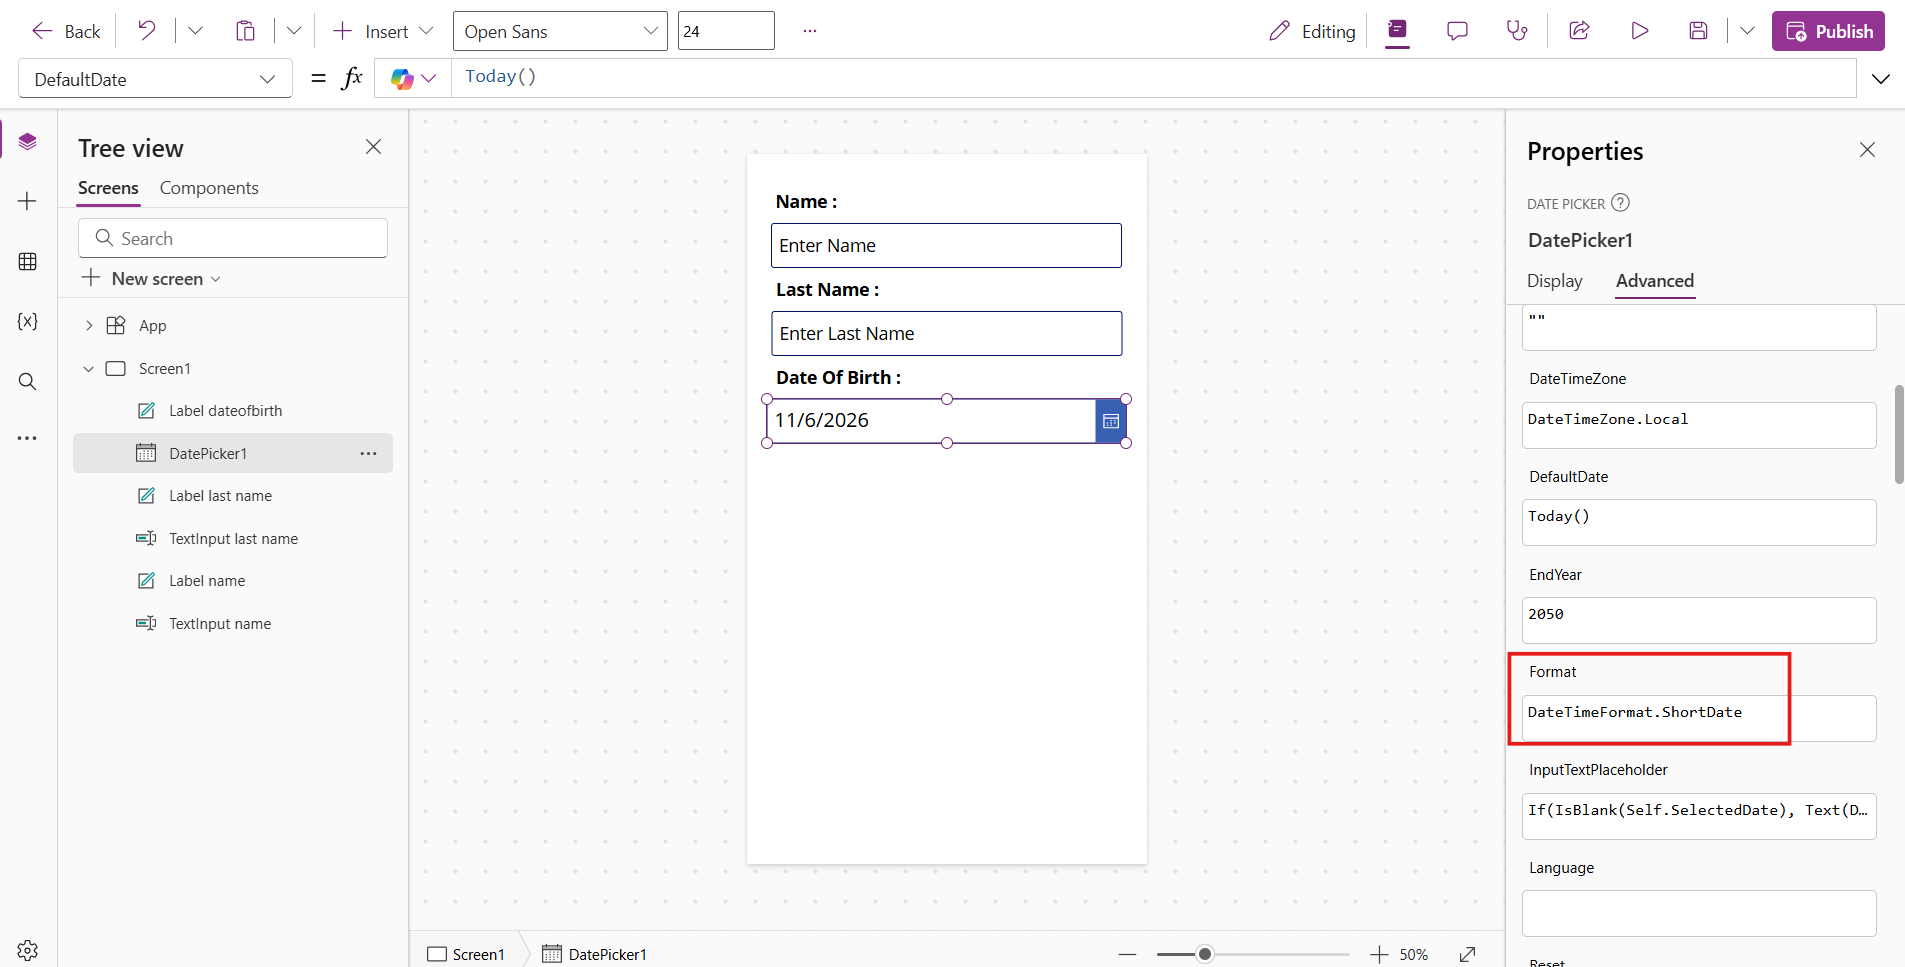
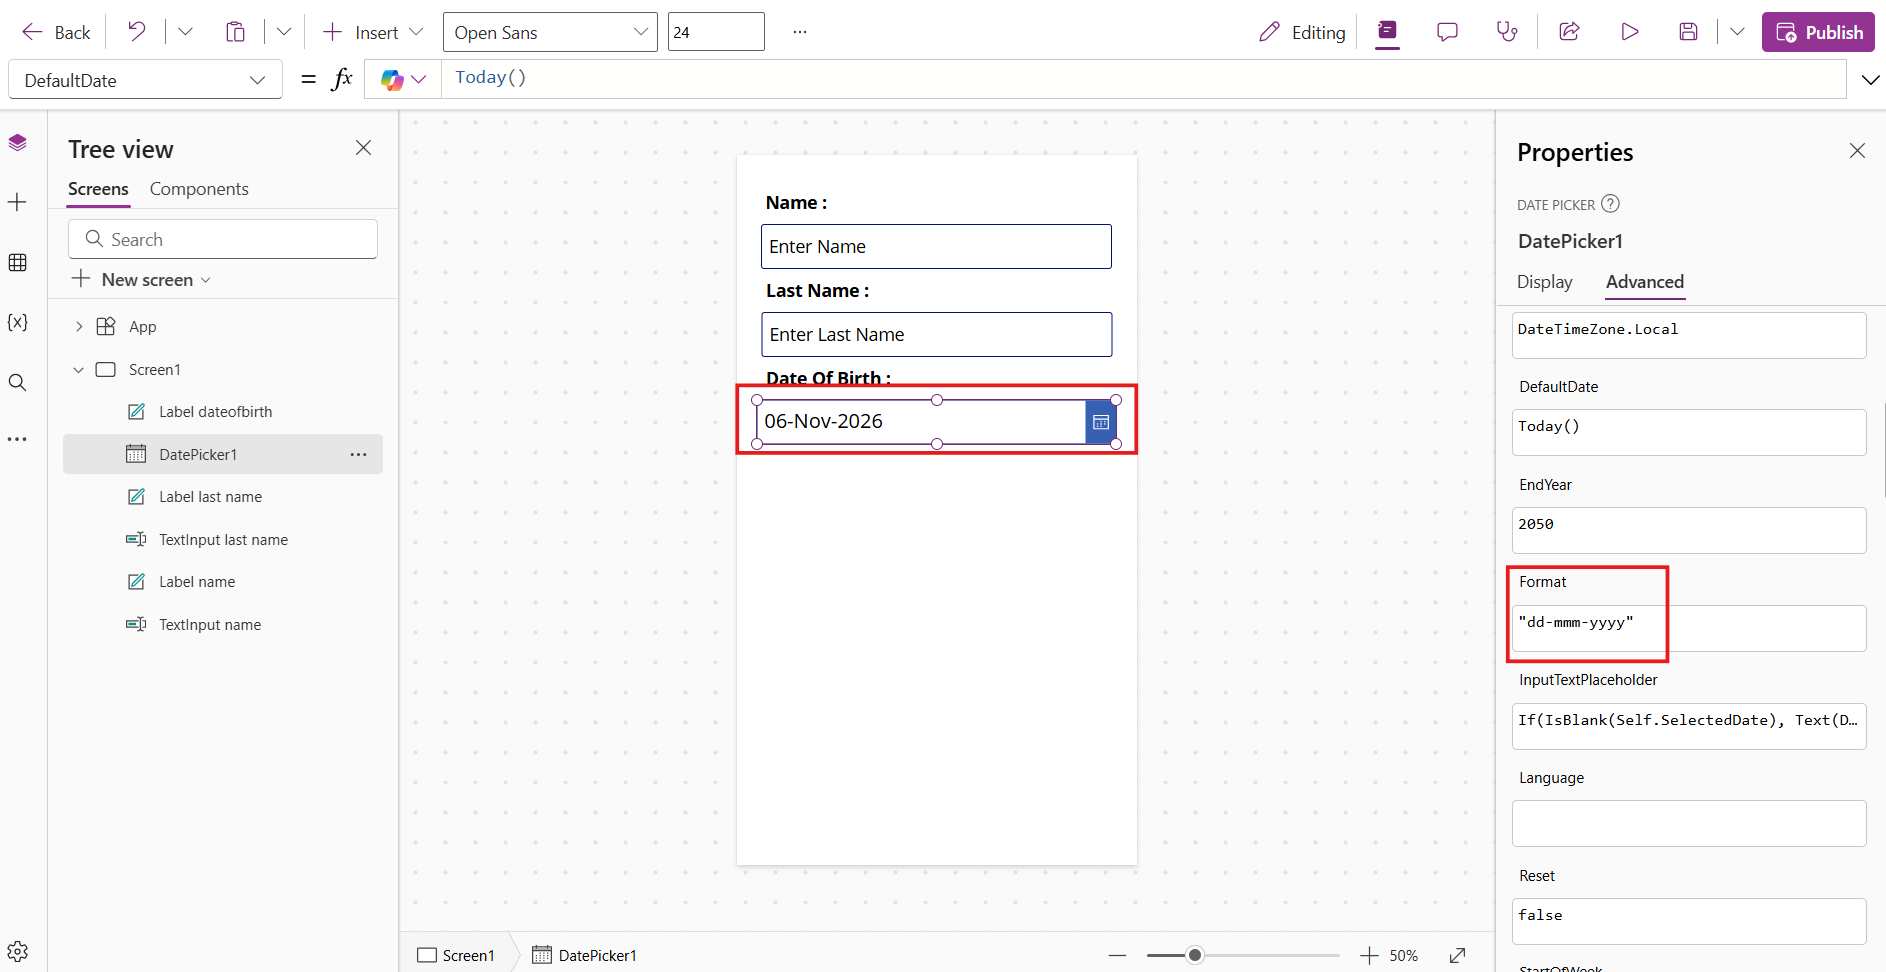
- Insert "Text lable" for show all date input on privious.
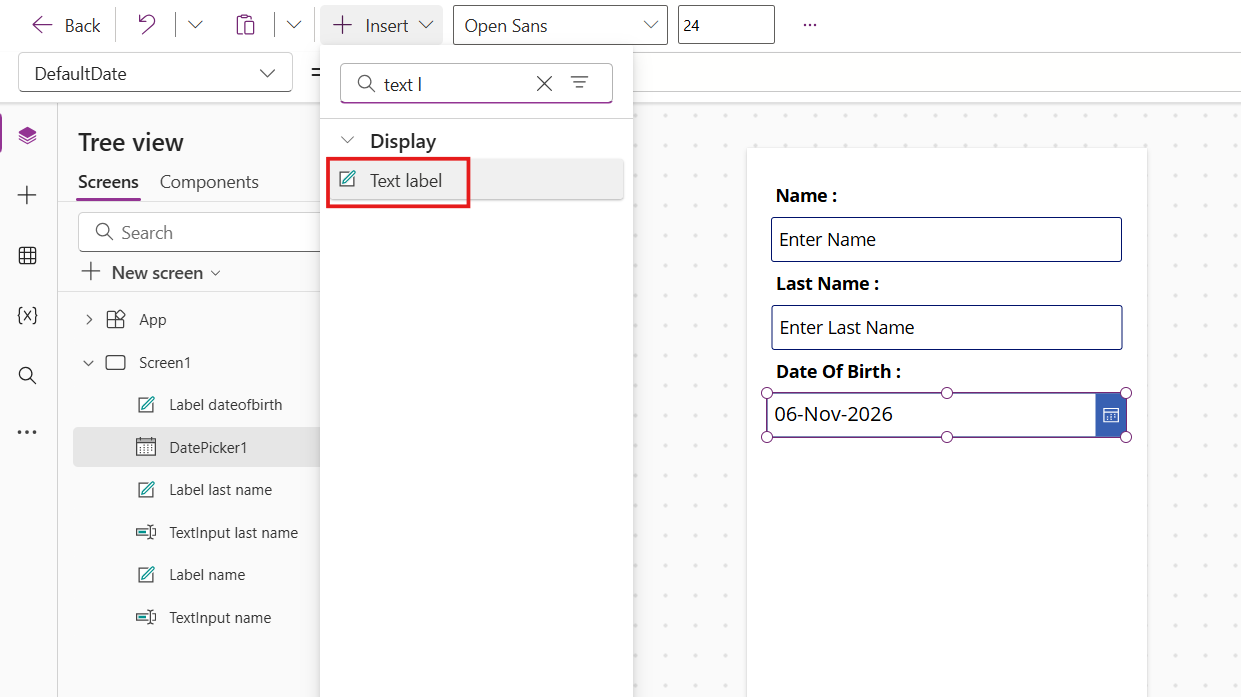
- Insert "Text label" for show sammarize input date.
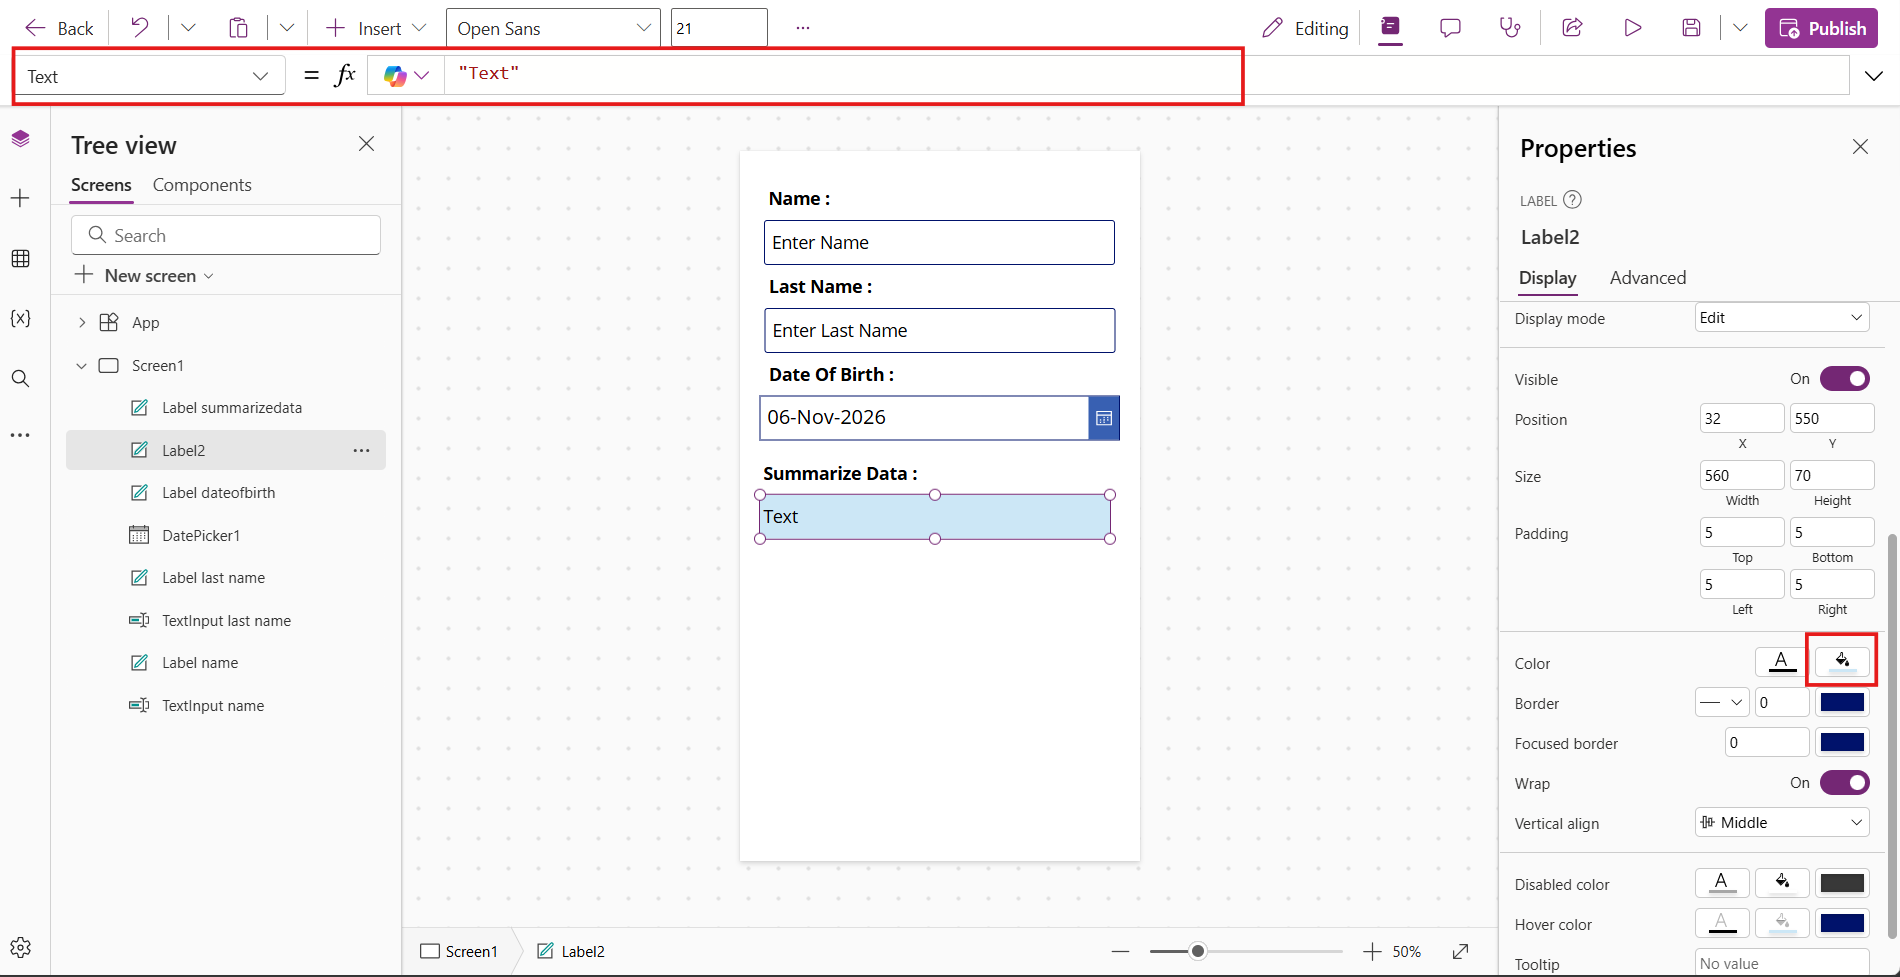
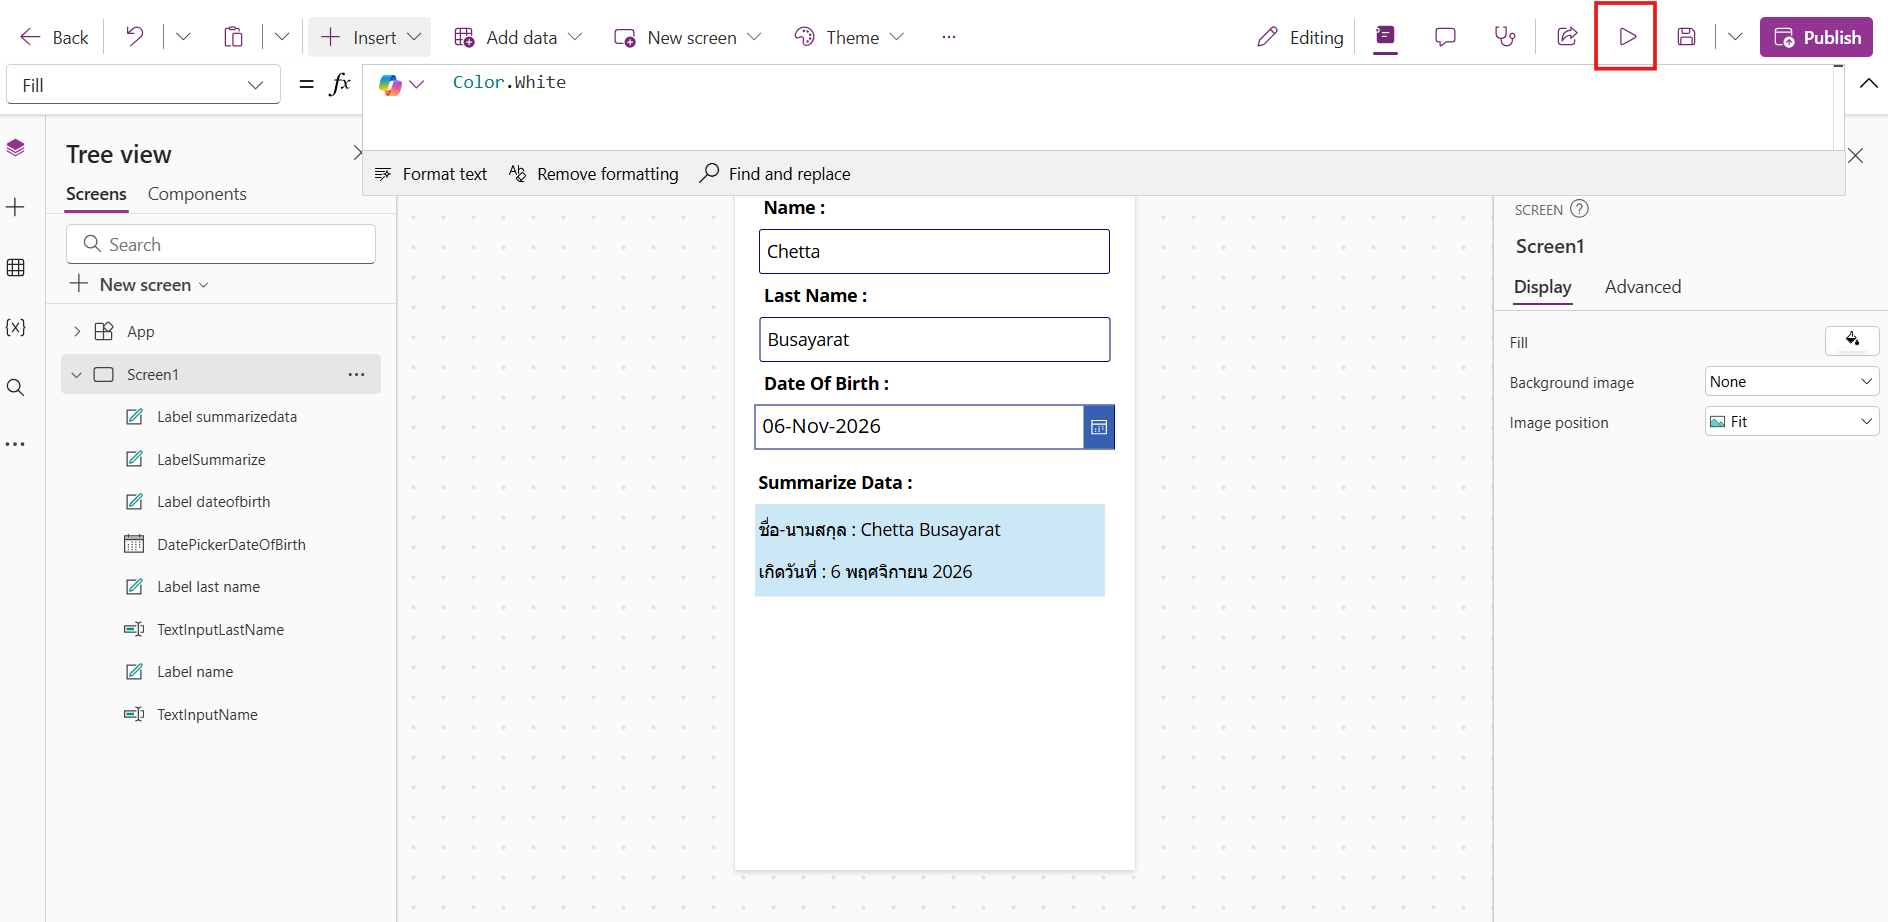
- Set showing data by go to manu on top "Text", fx.
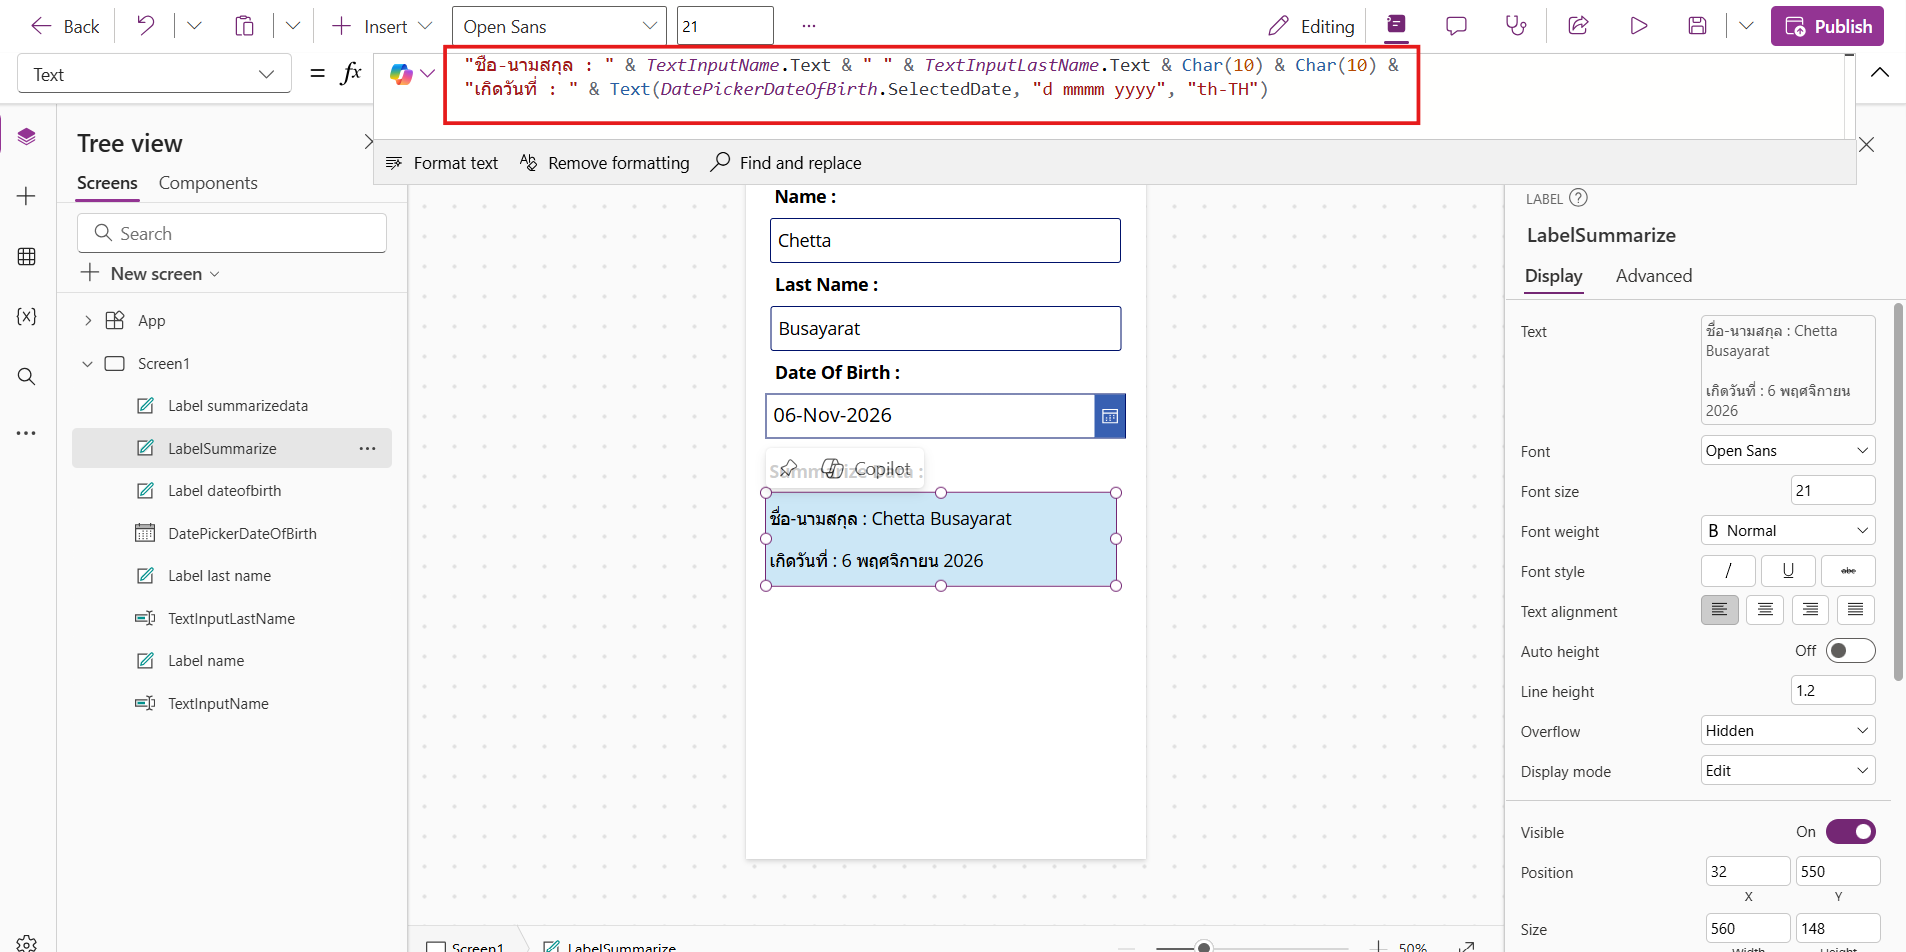
"ชื่อ-นามสกุล : " & TextInputName.Text & " " & TextInputLastName.Text & Char(10) & Char(10) &```
```"เกิดวันที่ : " & Text(DatePickerDateOfBirth.SelectedDate, "d mmmm yyyy", "th-TH")
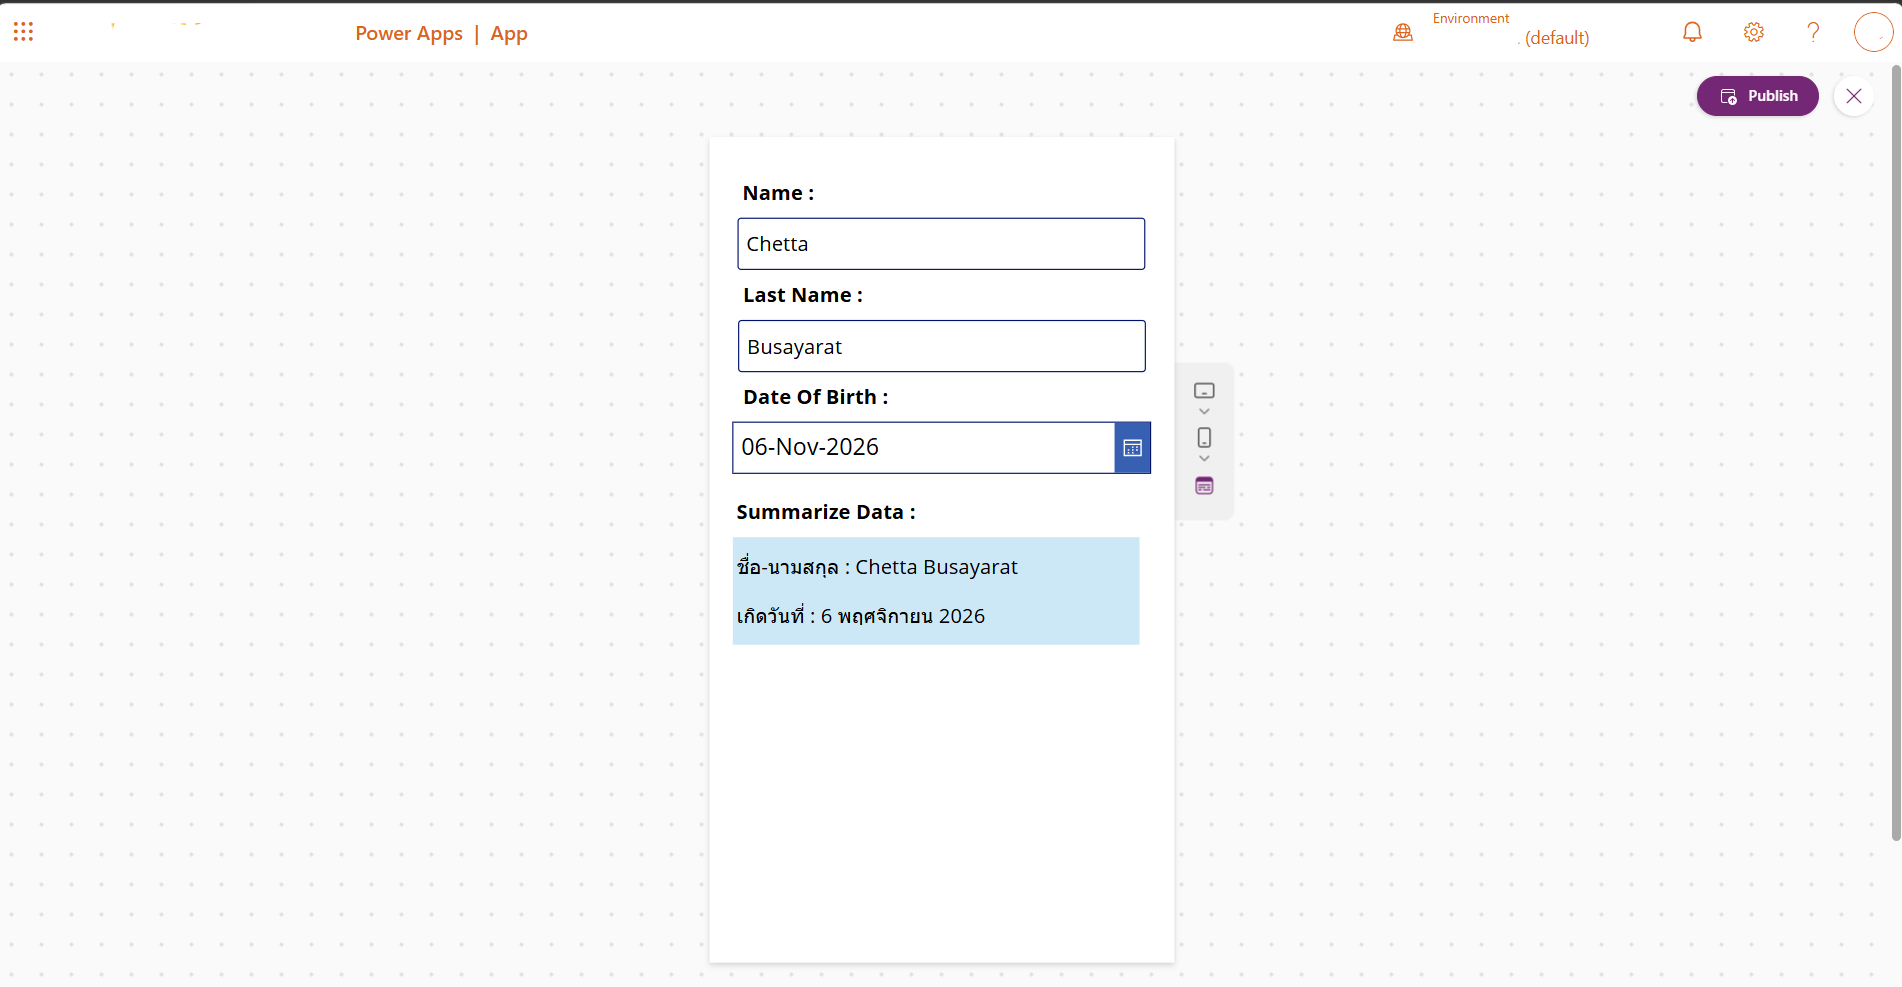
- Click "Play", the app will look like this.