
D365: Document routing agent for Printer


Install print rout agent for printer to print though the D365 on web (If print via web with-out document routing agent, resolution is bad).
1. Login to the D365 web and goto "Organization administration" > "Organization" > "Network printers".
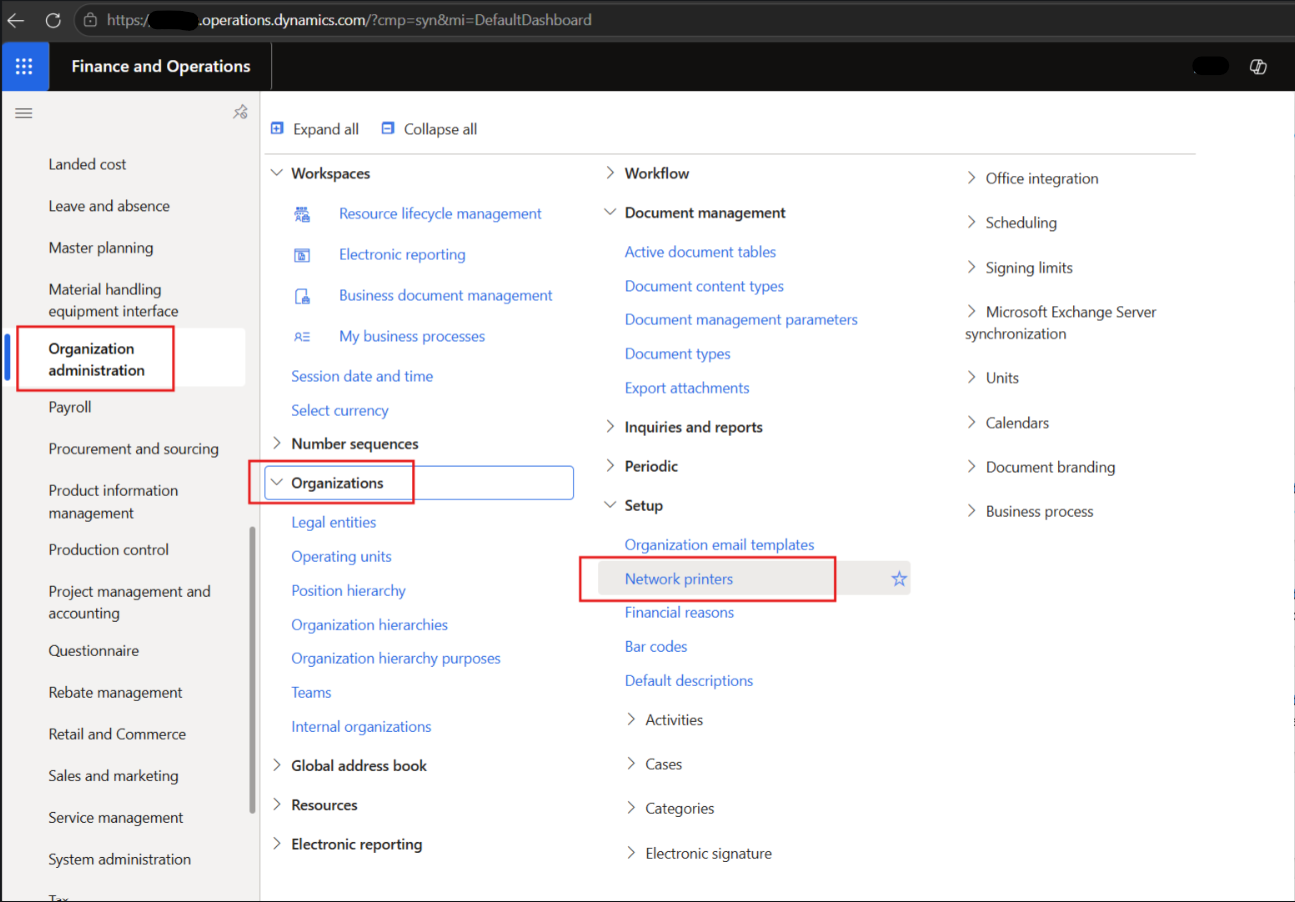
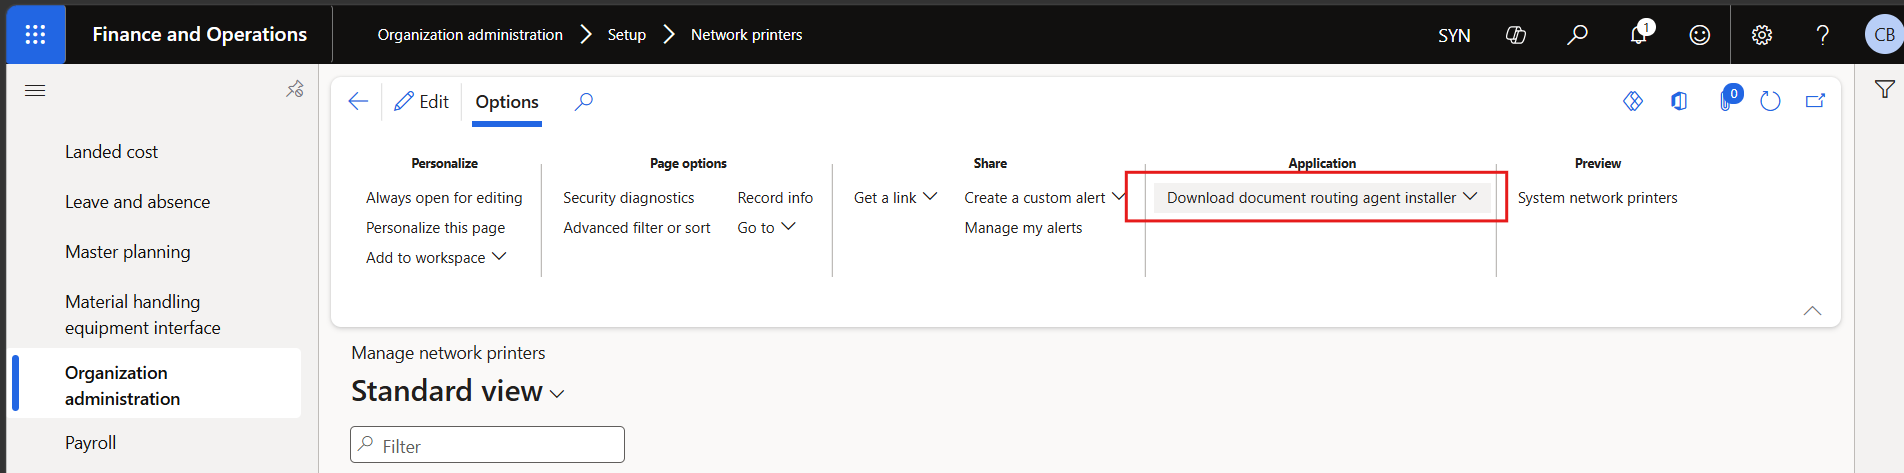
- Application > "Download document routing agent installer".
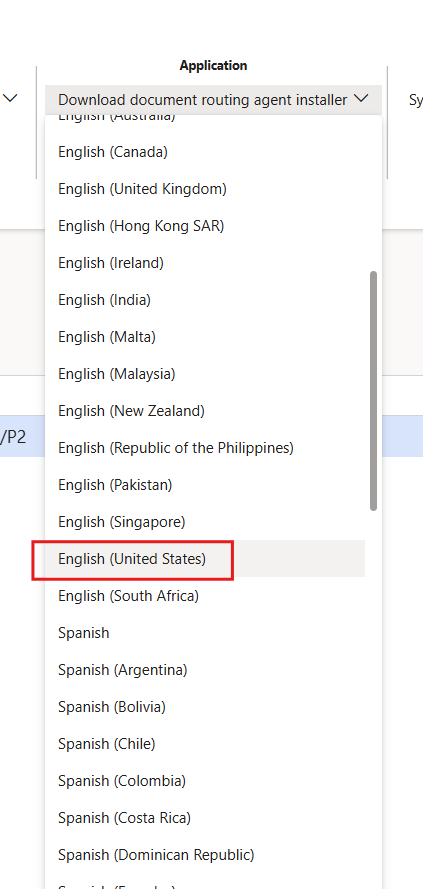
- Selete language.
- Document routing agent setup file.
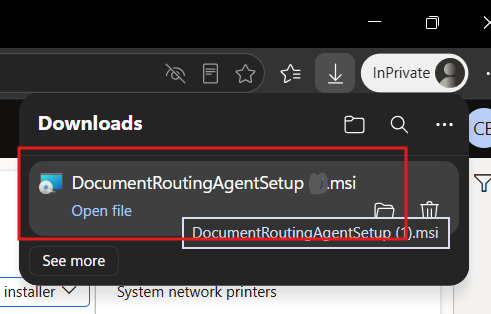
- Open file to install.
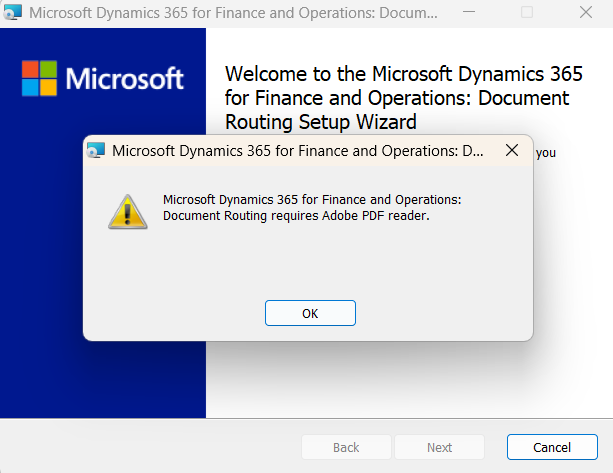
- Install "Adobe PDF reader" (https://get.adobe.com/reader/).
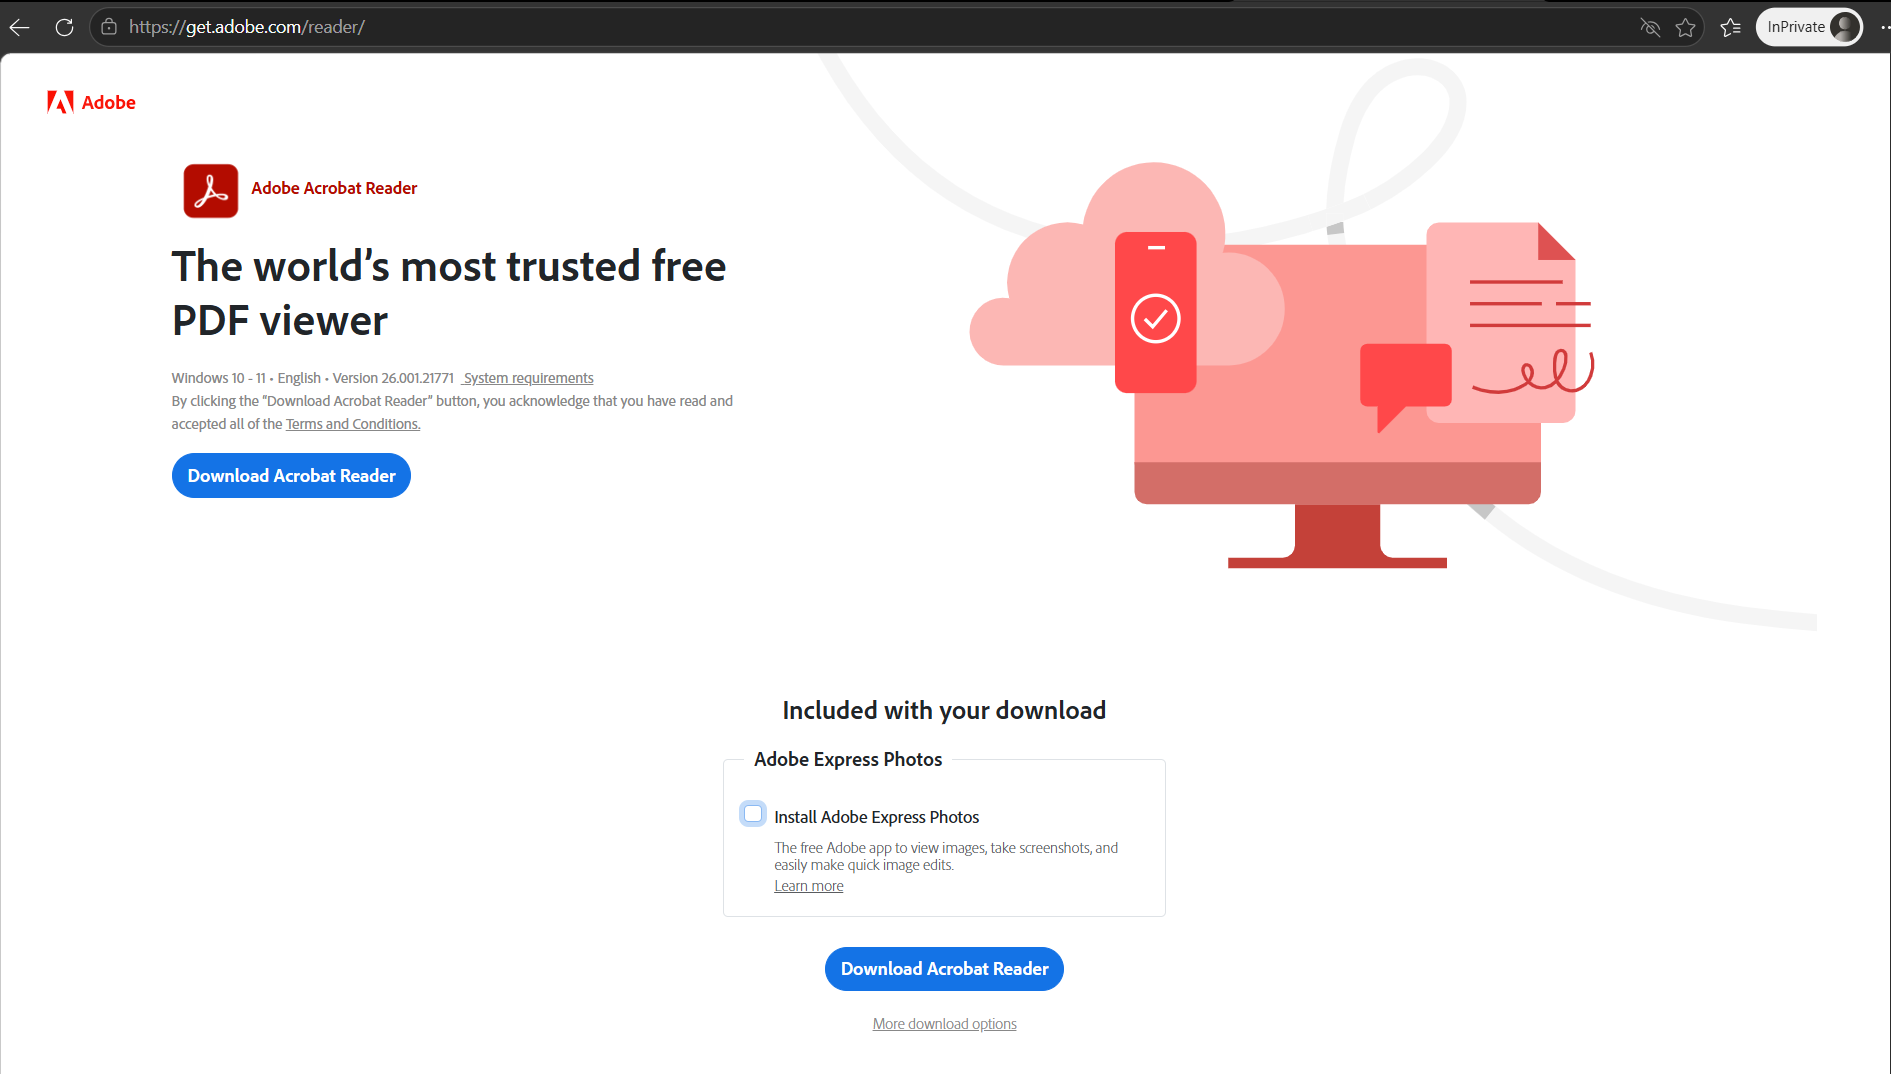
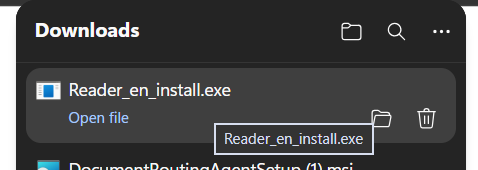
- Install "Adobe PDF reader".
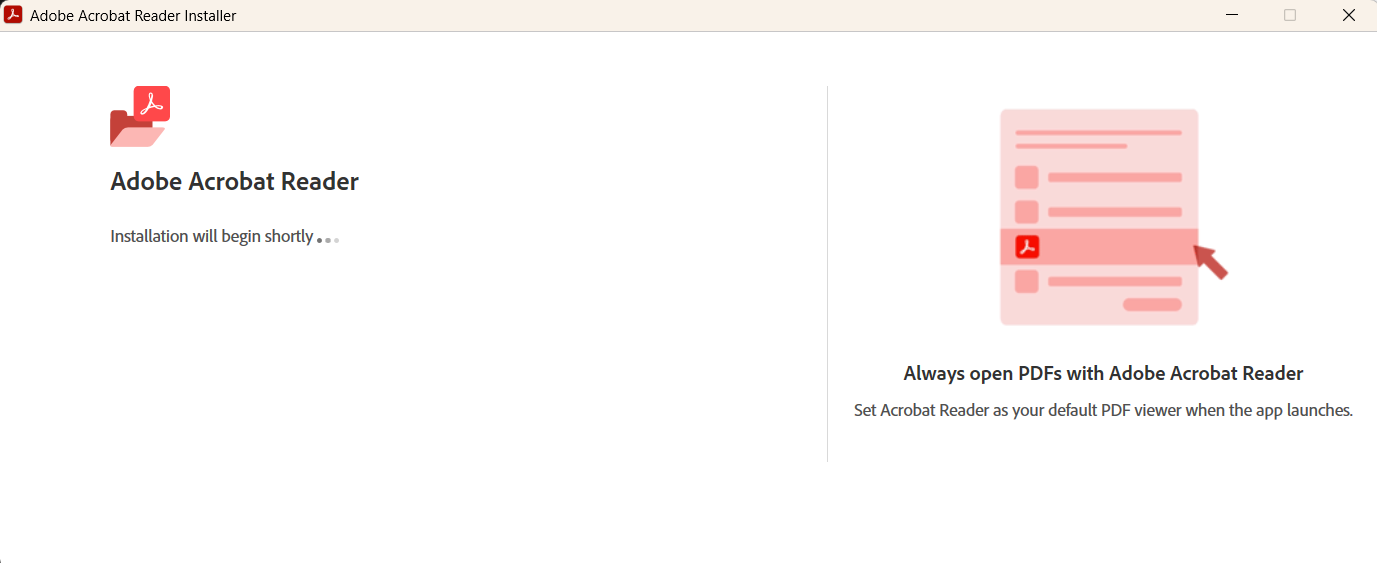
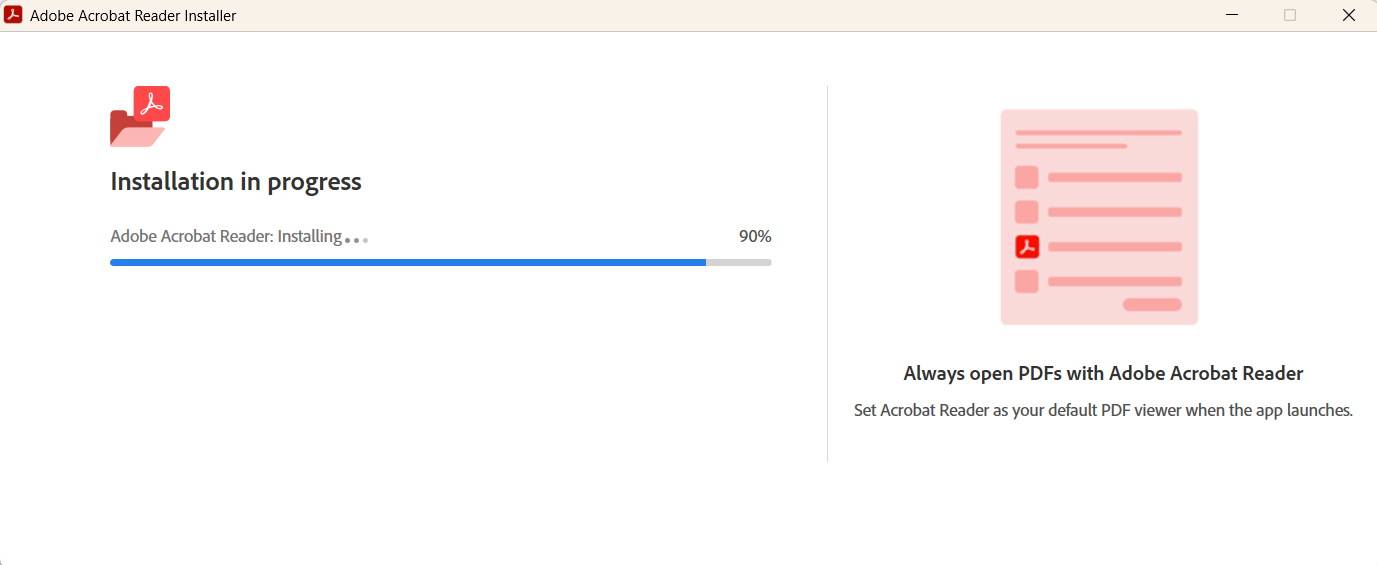
Check .msi file condition (required PDFREADERDC).

$com = New-Object -ComObject WindowsInstaller.Installer
$db = $com.OpenDatabase('C:\users\chettab\downloads\DocumentRoutingAgentSetup.msi', 0)
$view = $db.OpenView('SELECT Condition, Description FROM LaunchCondition')
$view.Execute()
while($record = $view.Fetch()){
    Write-Output ("Condition: " + $record.StringData(1) + " | Message: " + $record.StringData(2))
}
Tip: Step to Bypass for install Document Routing
Open Command Prompt (CMD) or PowerShell (Run as admin) and using the following command to by pass
Start-Process msiexec.exe -ArgumentList '/i "C:\users\chettab\downloads\DocumentRoutingAgentSetup.msi" PDFREADERDC64="1"'
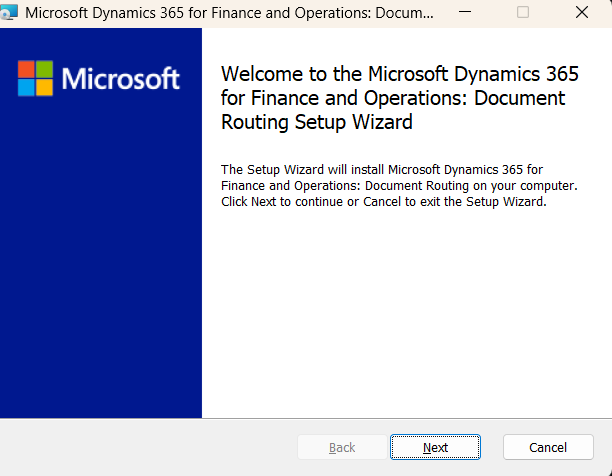
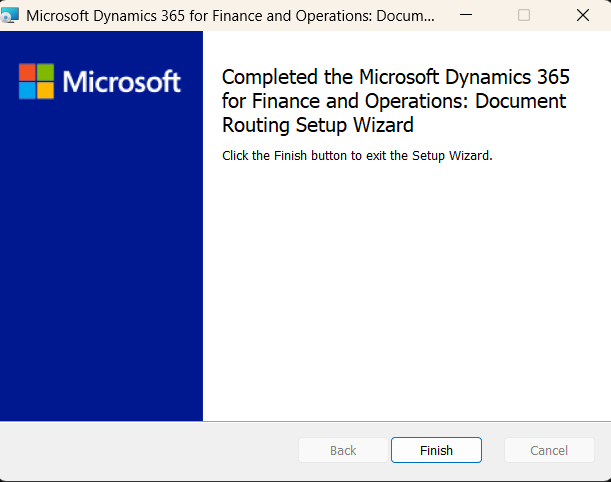
- Next to install
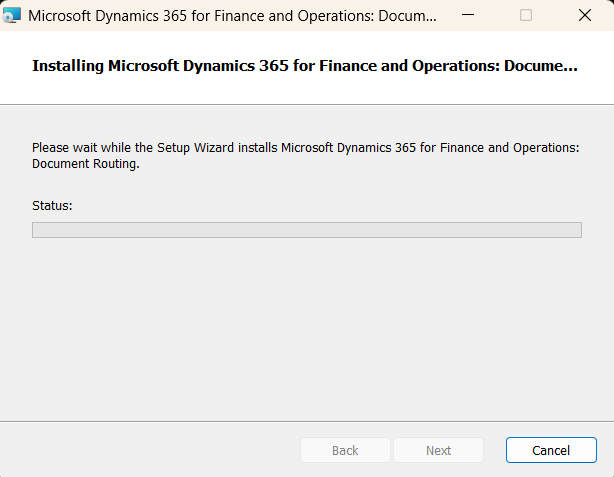
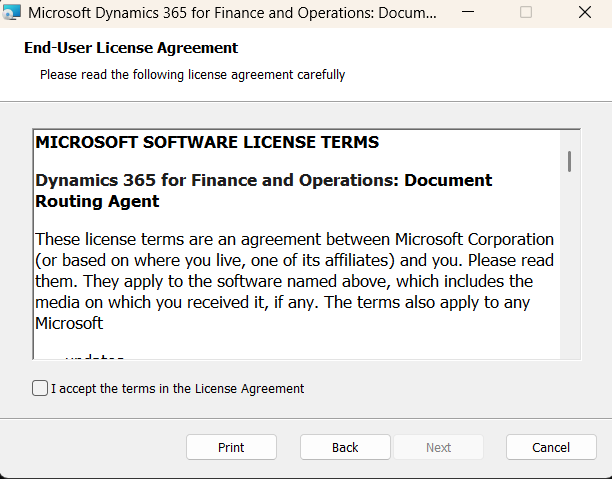
- install
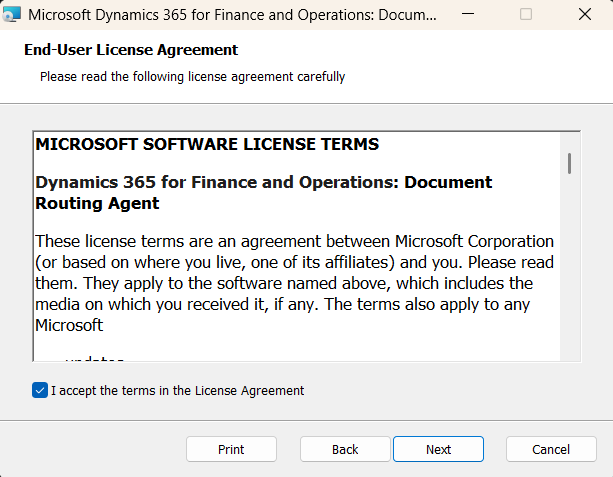
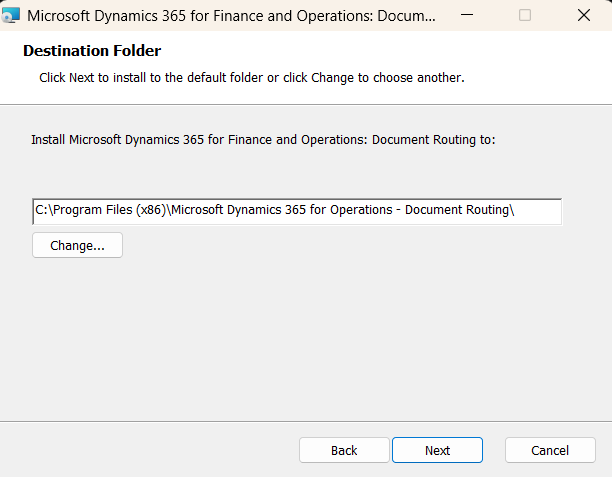
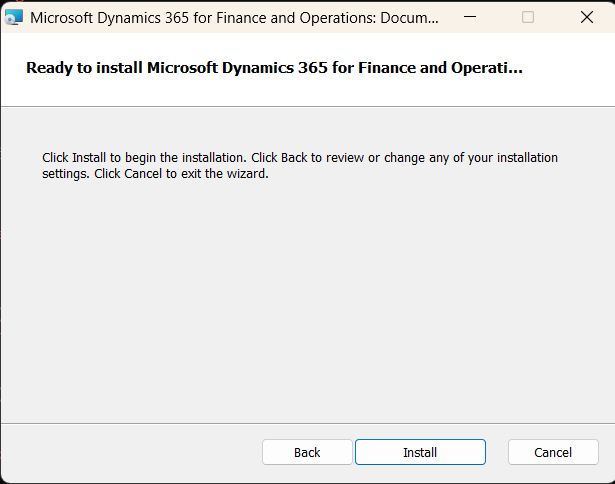
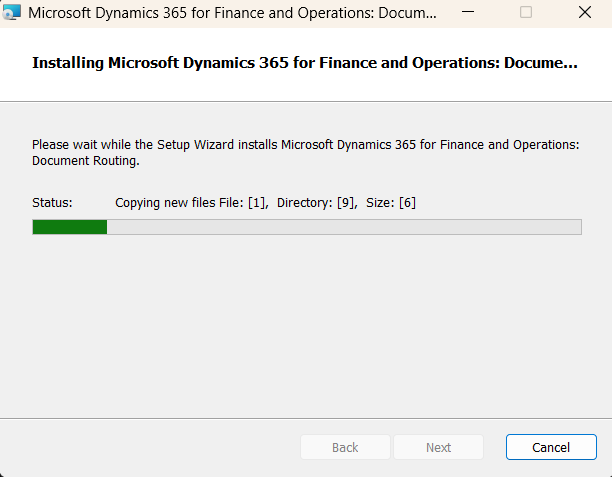
- "Document Routing Agent" icon on desktop.
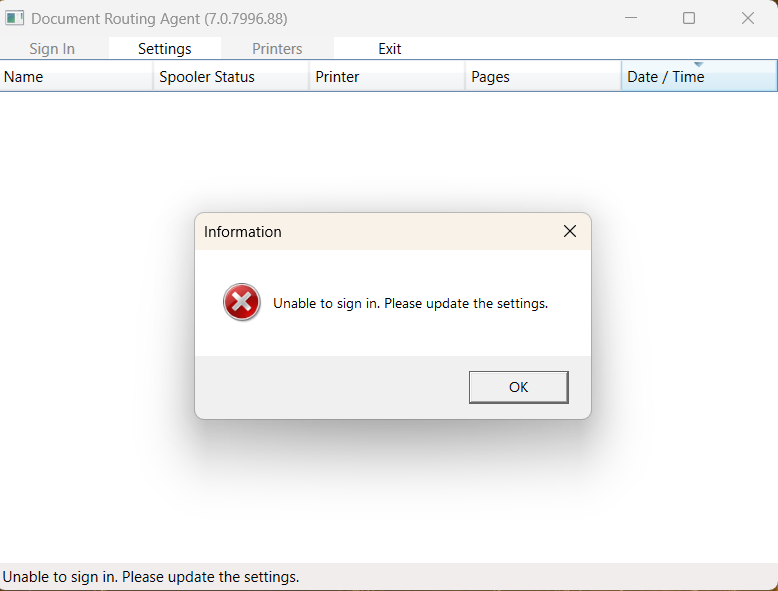
- Double click to open. It'll show pop up, click ok.
- Click on "Setting".
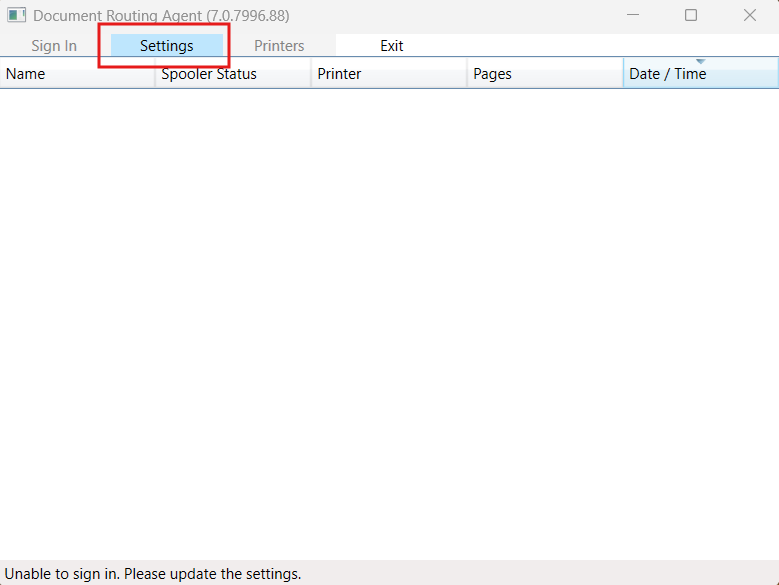
- Setting.
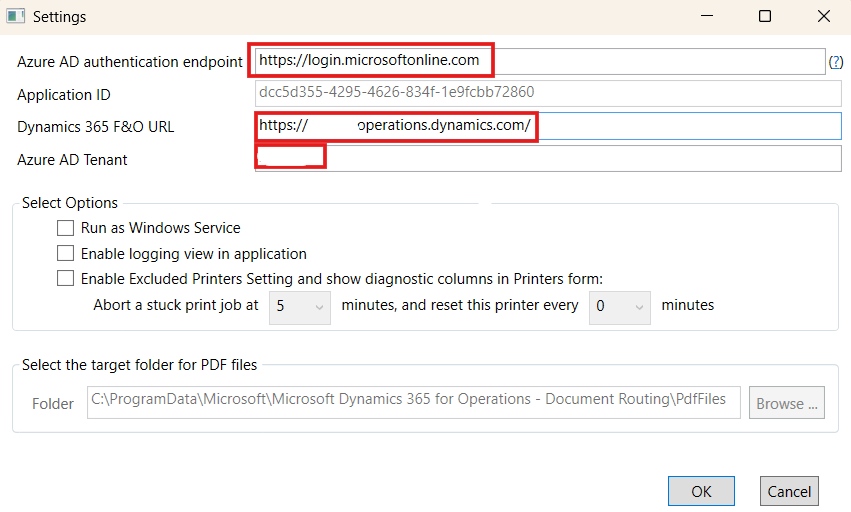
- Sign In.
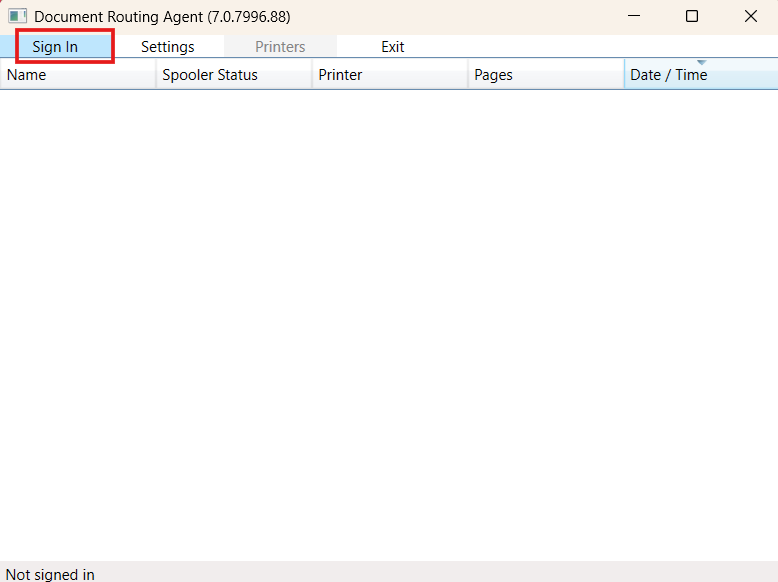
- Login.
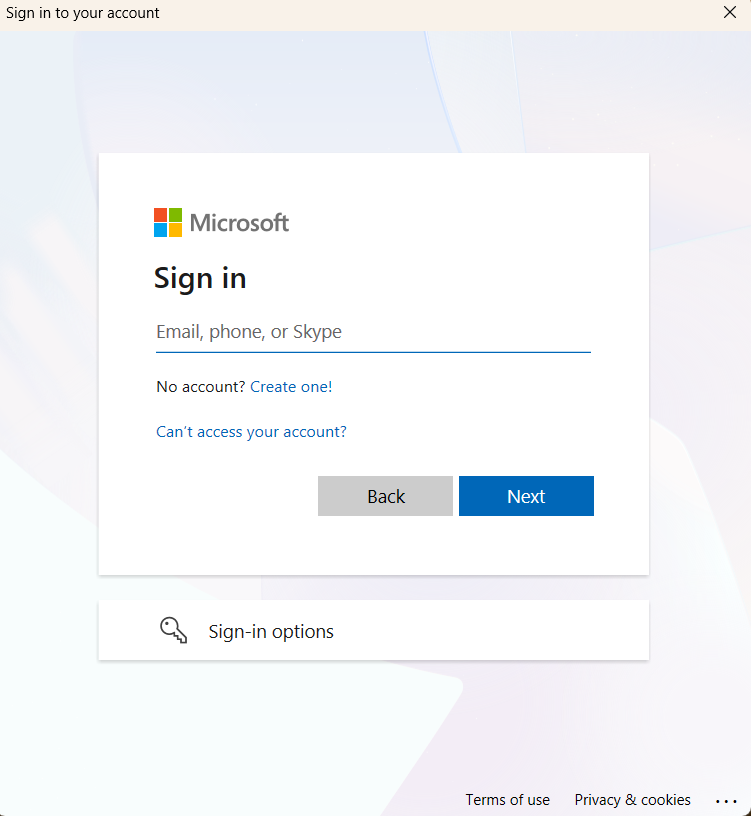
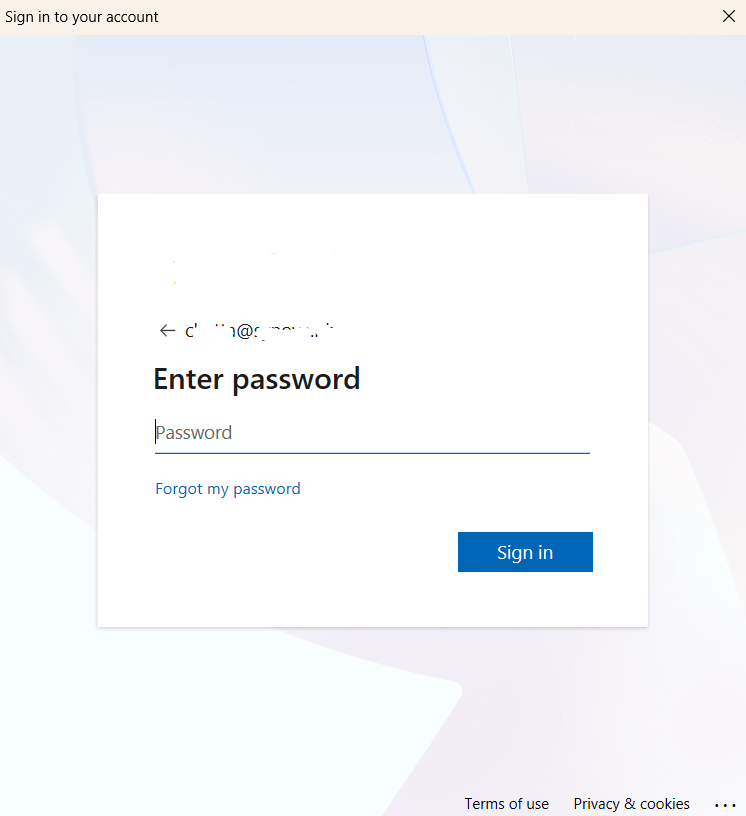
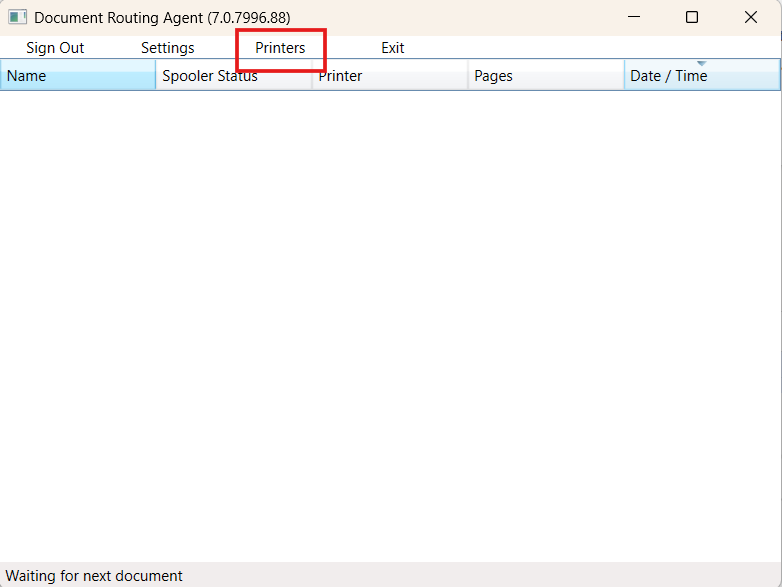
- Click on "Printers" menu.
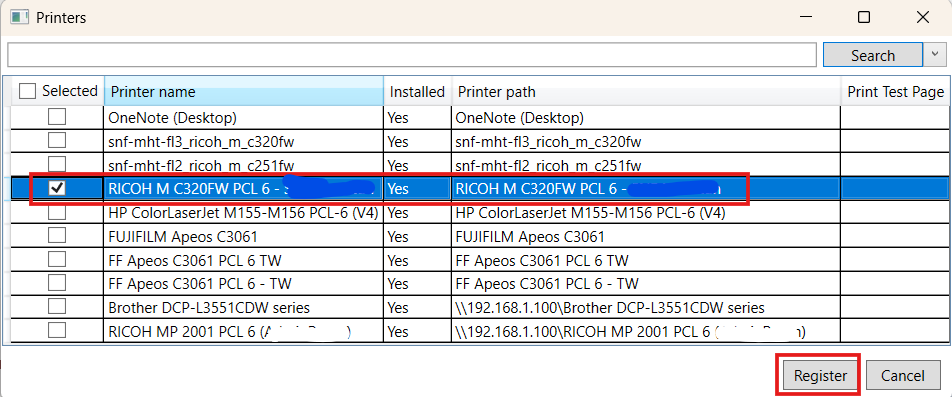
- Select the printer you prefer to register to show on D365 and click "Register".
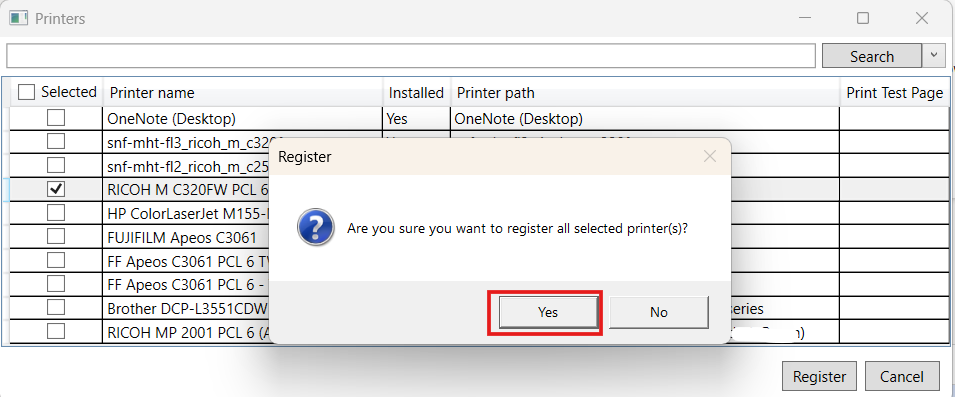
- "Yes" to confirm register.
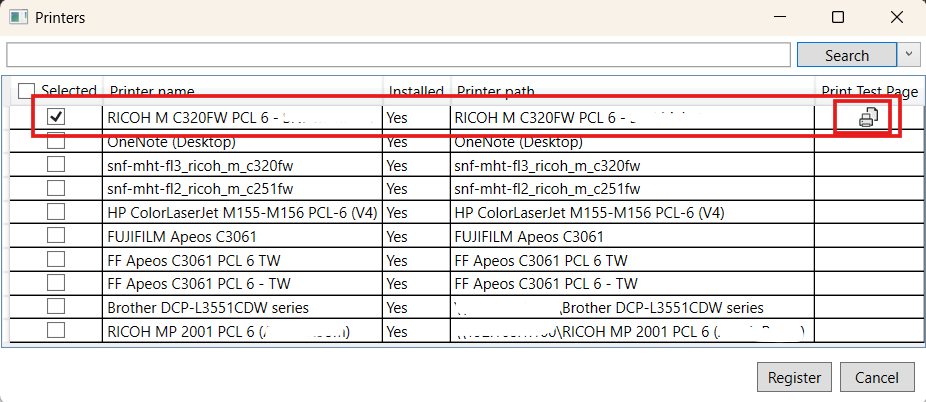
- Printer will show as can print test page.
- Back to M365, "Operation administration" > "Setup" > "Network Printers". The printer that register will show on the list.
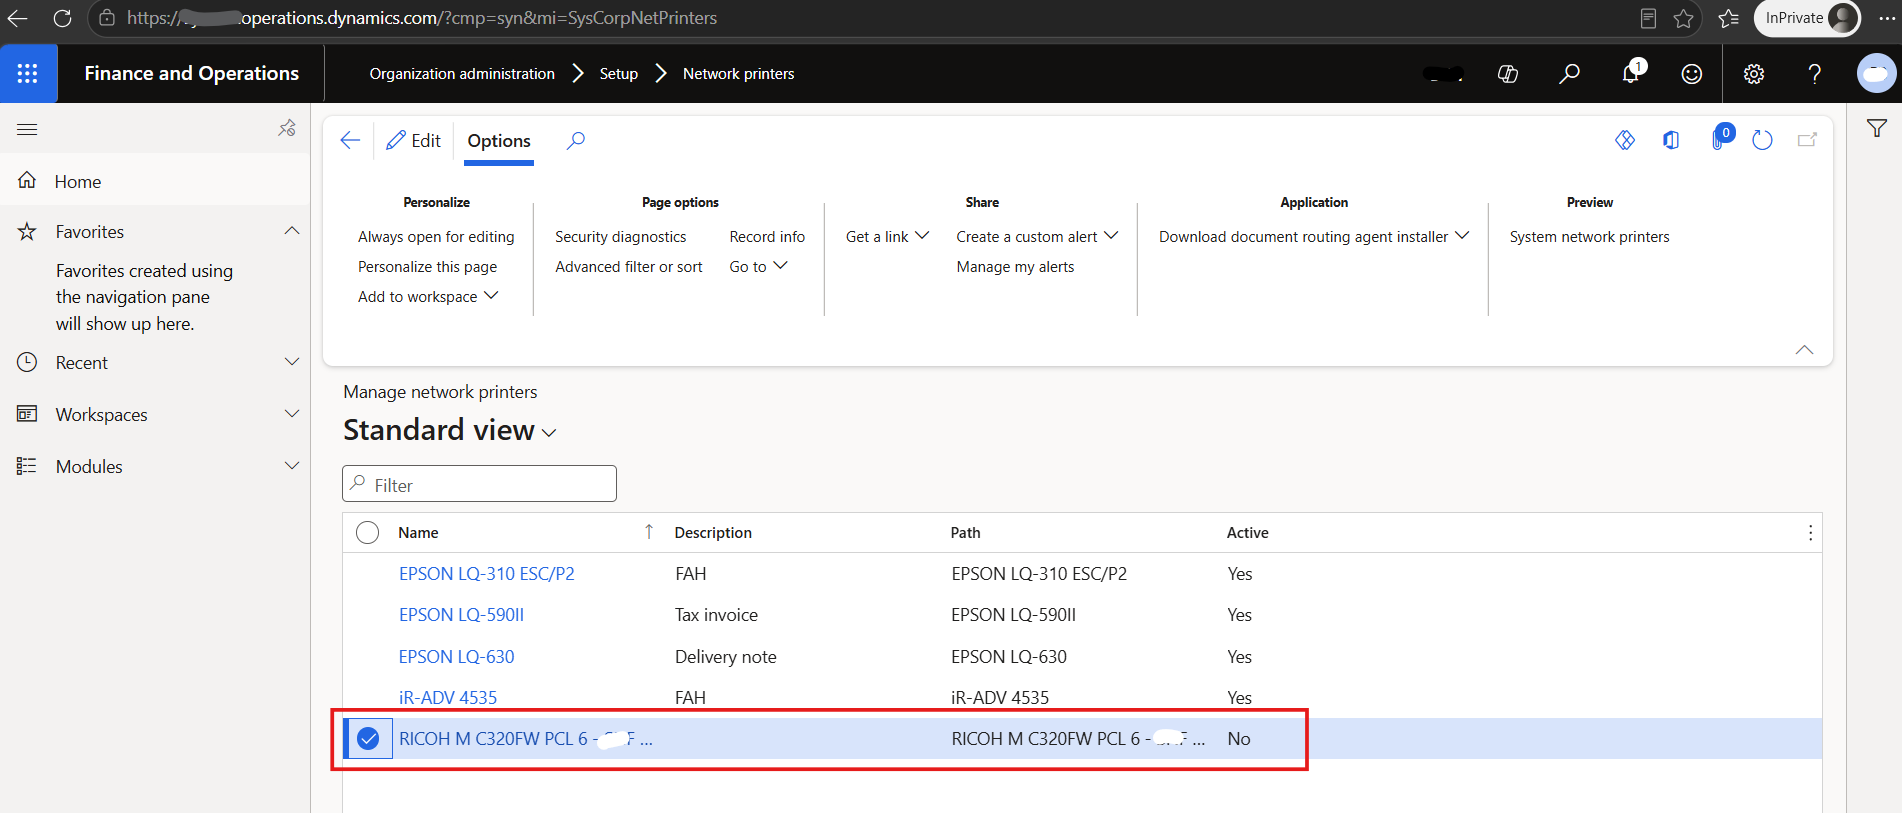
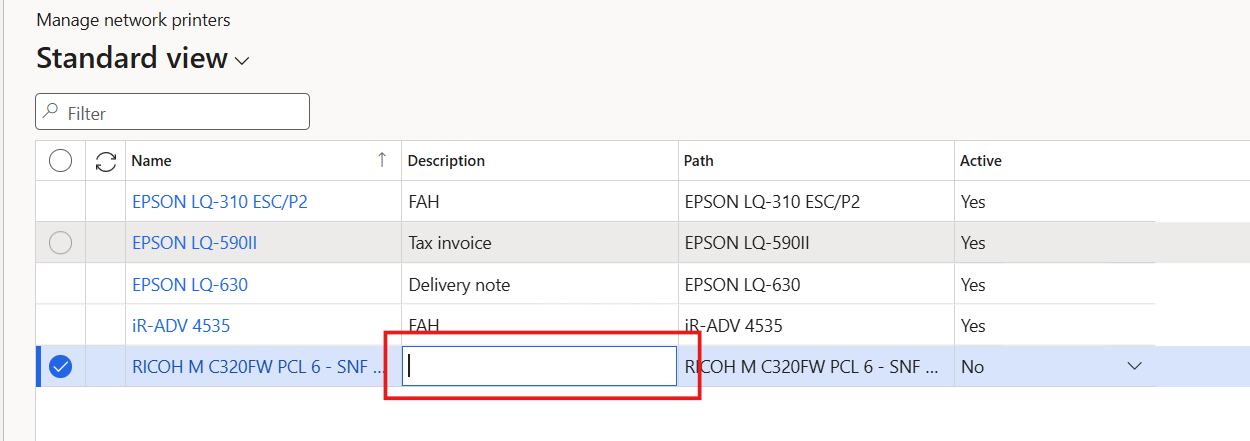
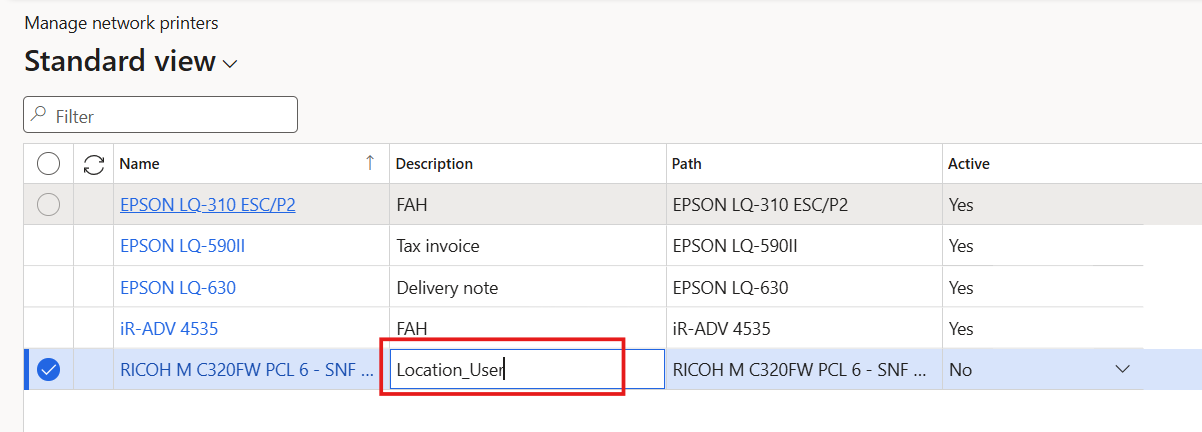
- Click on "Description" block to enter the description.
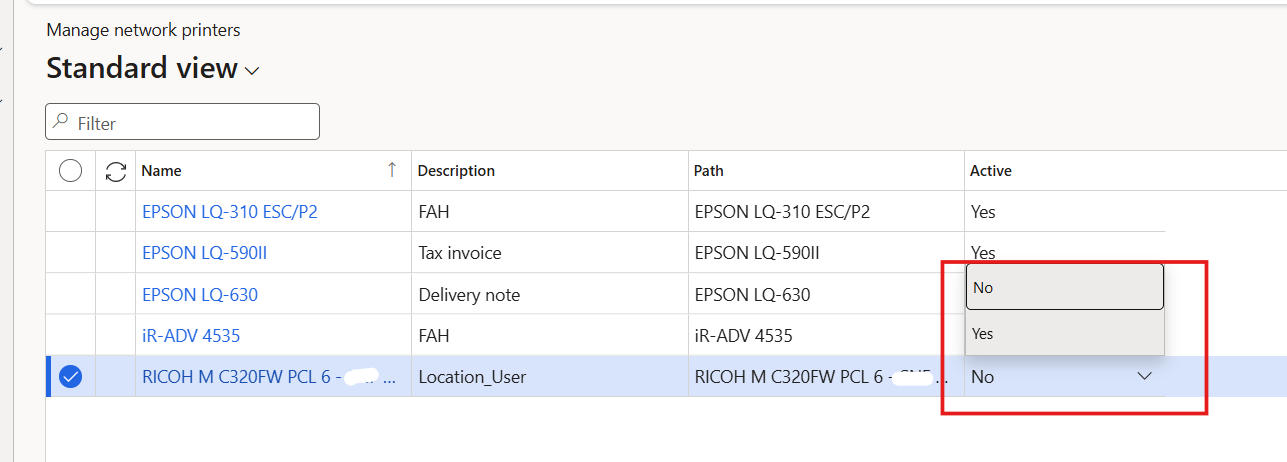
- Active the printer on "Active" (Change from "No" to "Yes").
- Click "Save".
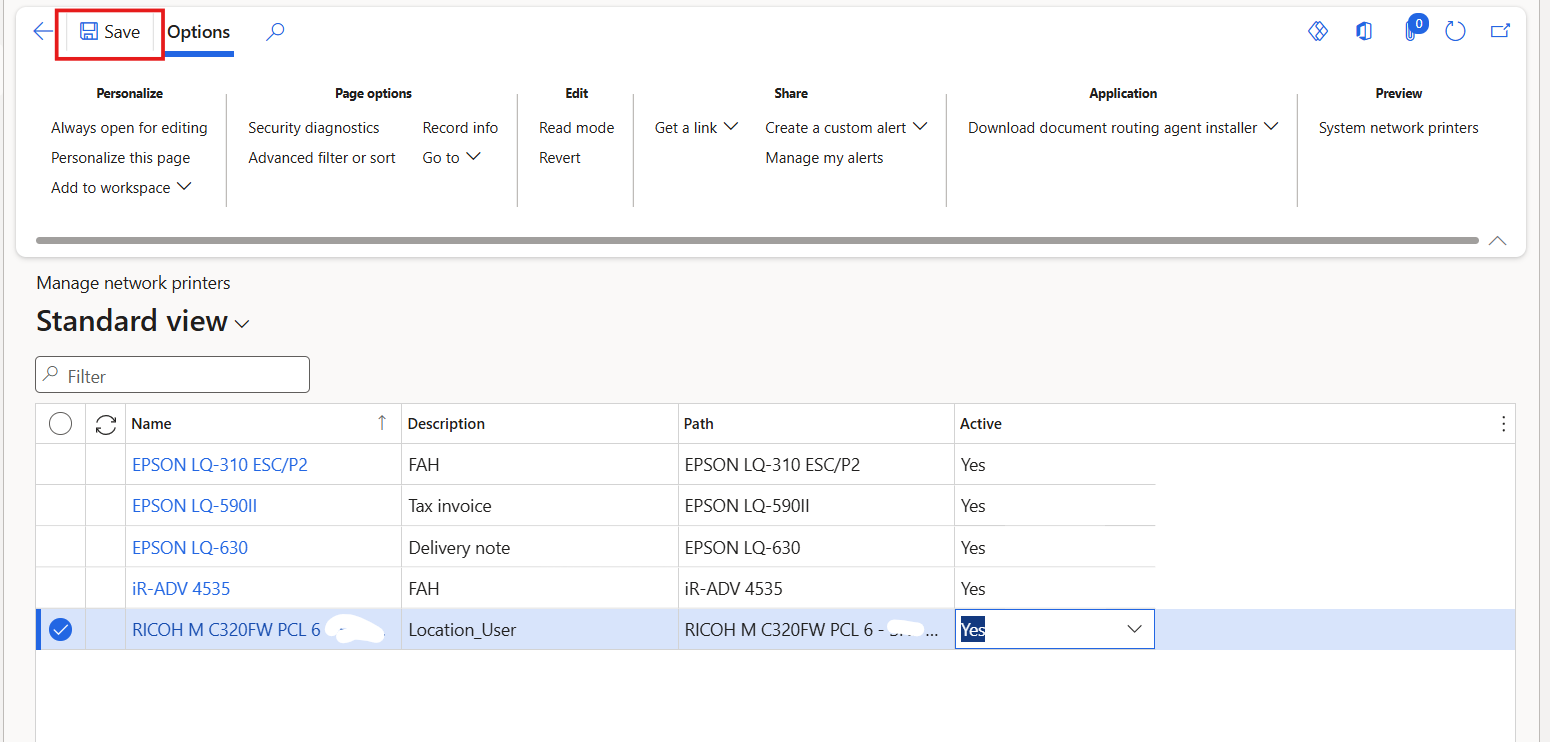
- Now the printer will show on the M365.