
How to activate the extend warranty (EW201) for SYNOLOGY NAS


วิธีการขยายระยะเวลารับประกัน (Extended Warranty For Mainstream Device - EW201) สำหรับ Synology NAS - DS925+ (ในประเทศไทย)
เนื่องจากประกันแบบ Extended Warranty Plus ไม่รองรับในประเทศไทย การขยายเวลารับประกันจึงไม่สามารถกดขยายที่ในหน้า web console ของ NAS เองได้
นี่คือวิธีการขยายระยะเวลารับประกันแบบ EW201 จาก 3 ปี เป็น 5 ปี โดยจะต้องทำภายในเวลาที่ทางผู้ขายกำหนด
ขั้นตอนมีดังนี้
- Login to your Synology account (https://signin.synology.com/)
(ถ้ายังไม่มีบัญชีให้สมัครก่อน)
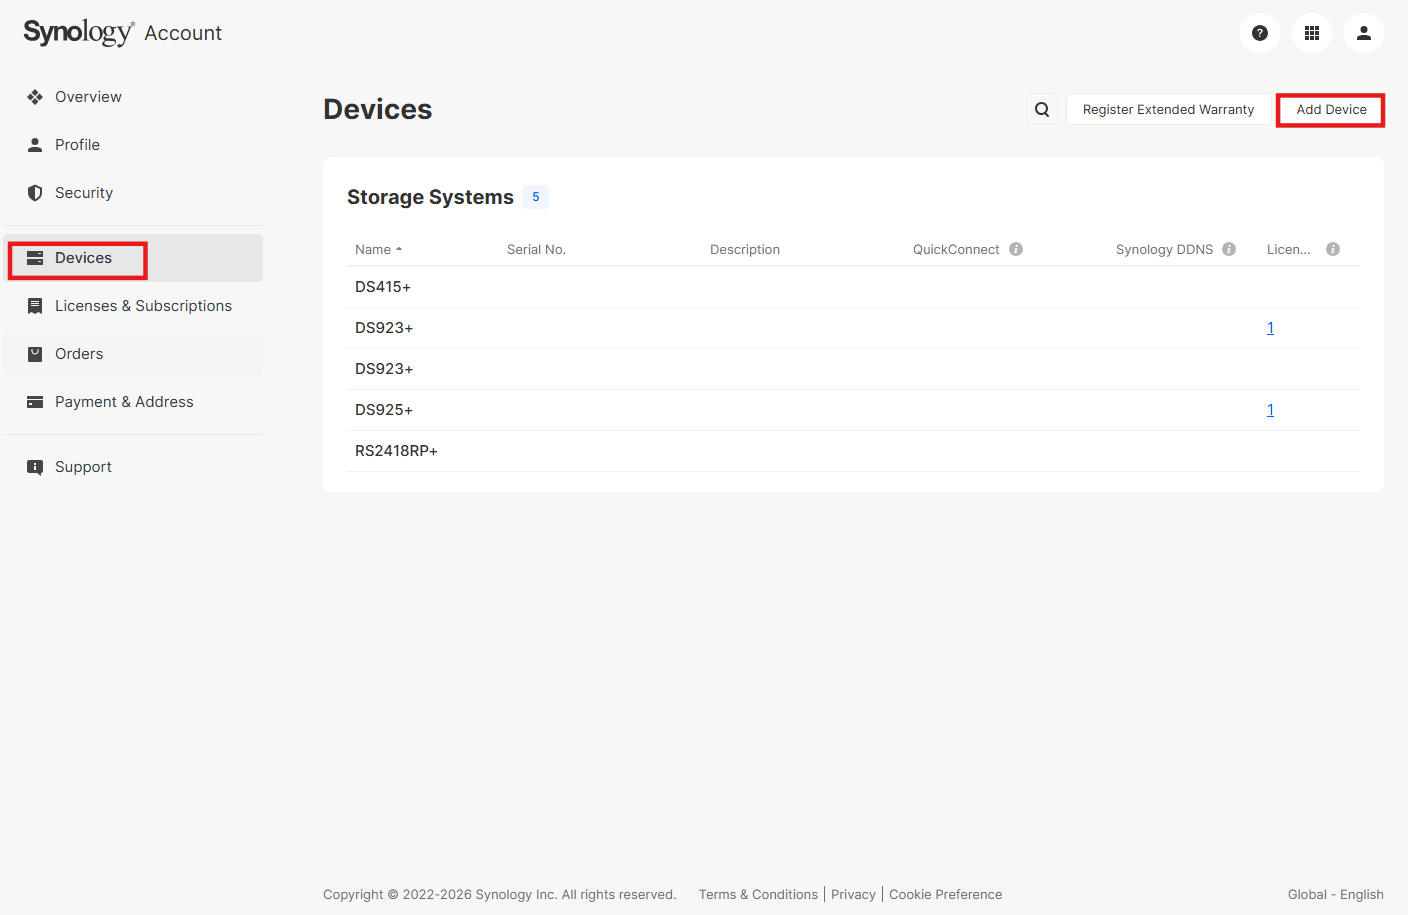
- ไปที่เมนู Device > "Add Device".
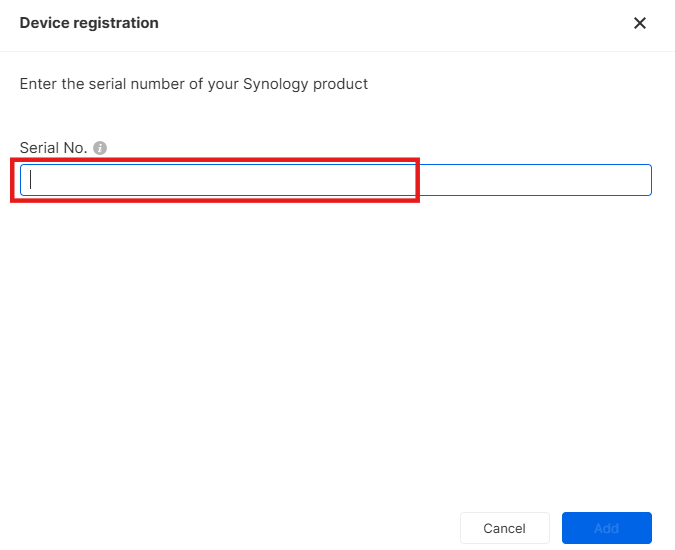
- ใส่ Serial number NAS ของคุณ (เข้าไปดูได้ที่ "Control Panel" > "Info Center" > "Serial number0")
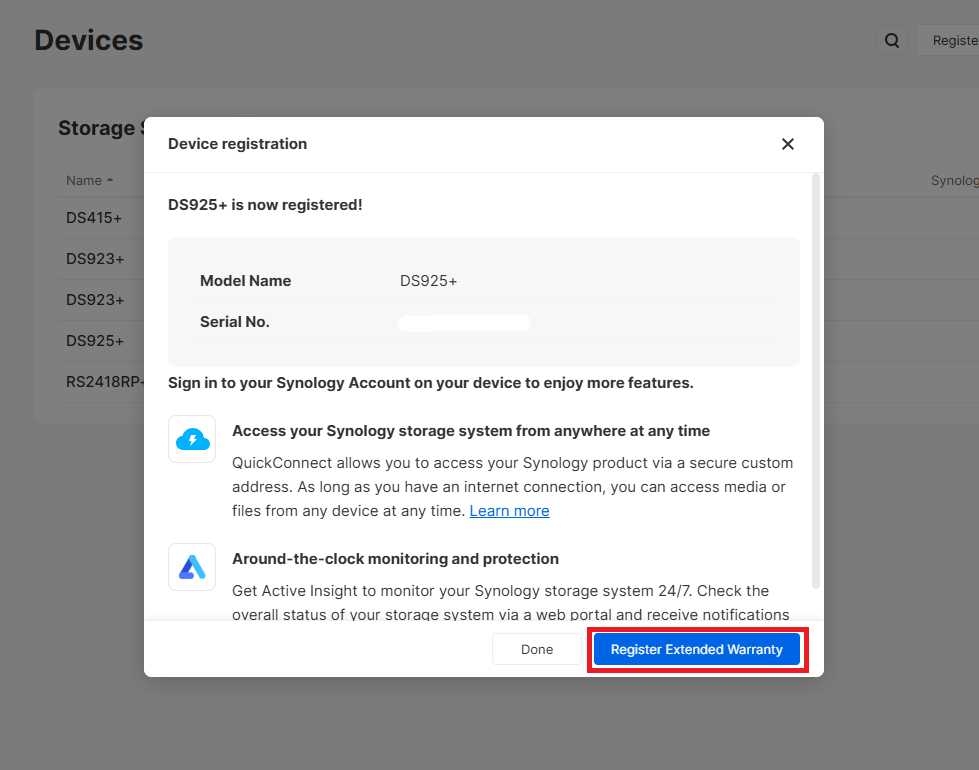
4. Model name and Serial number will show to verify your nas. Click "Register Extended Warraty" to continue.
- Click "Register".
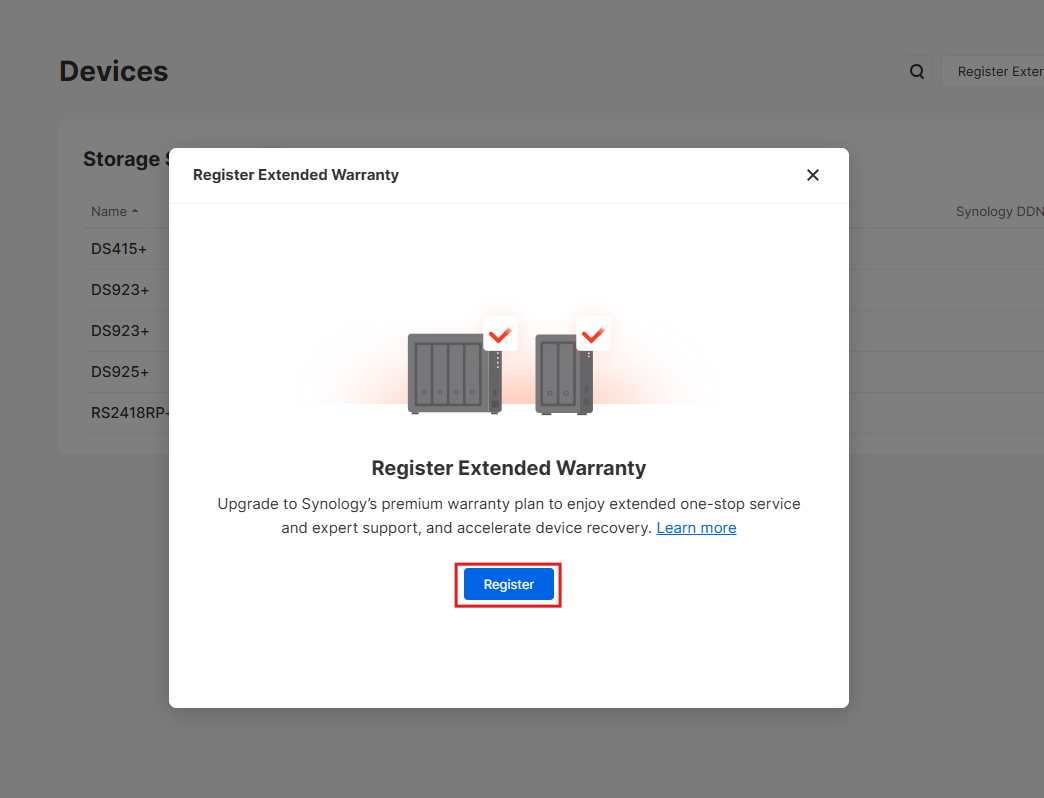
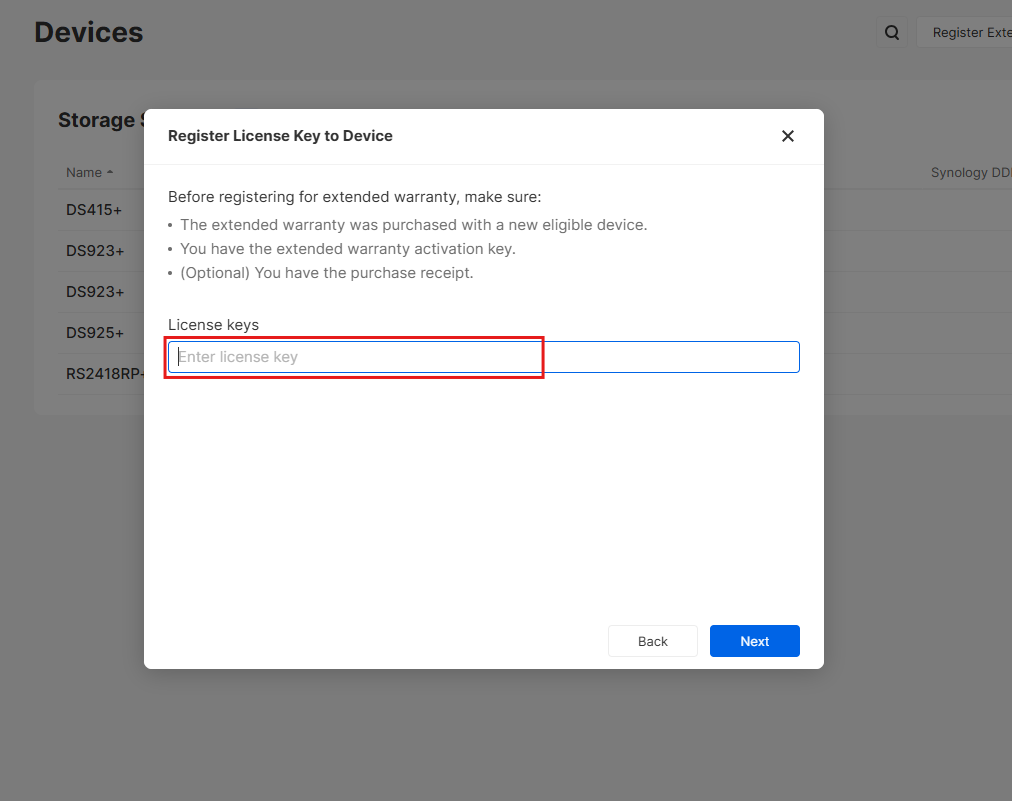
- Register license key to device.
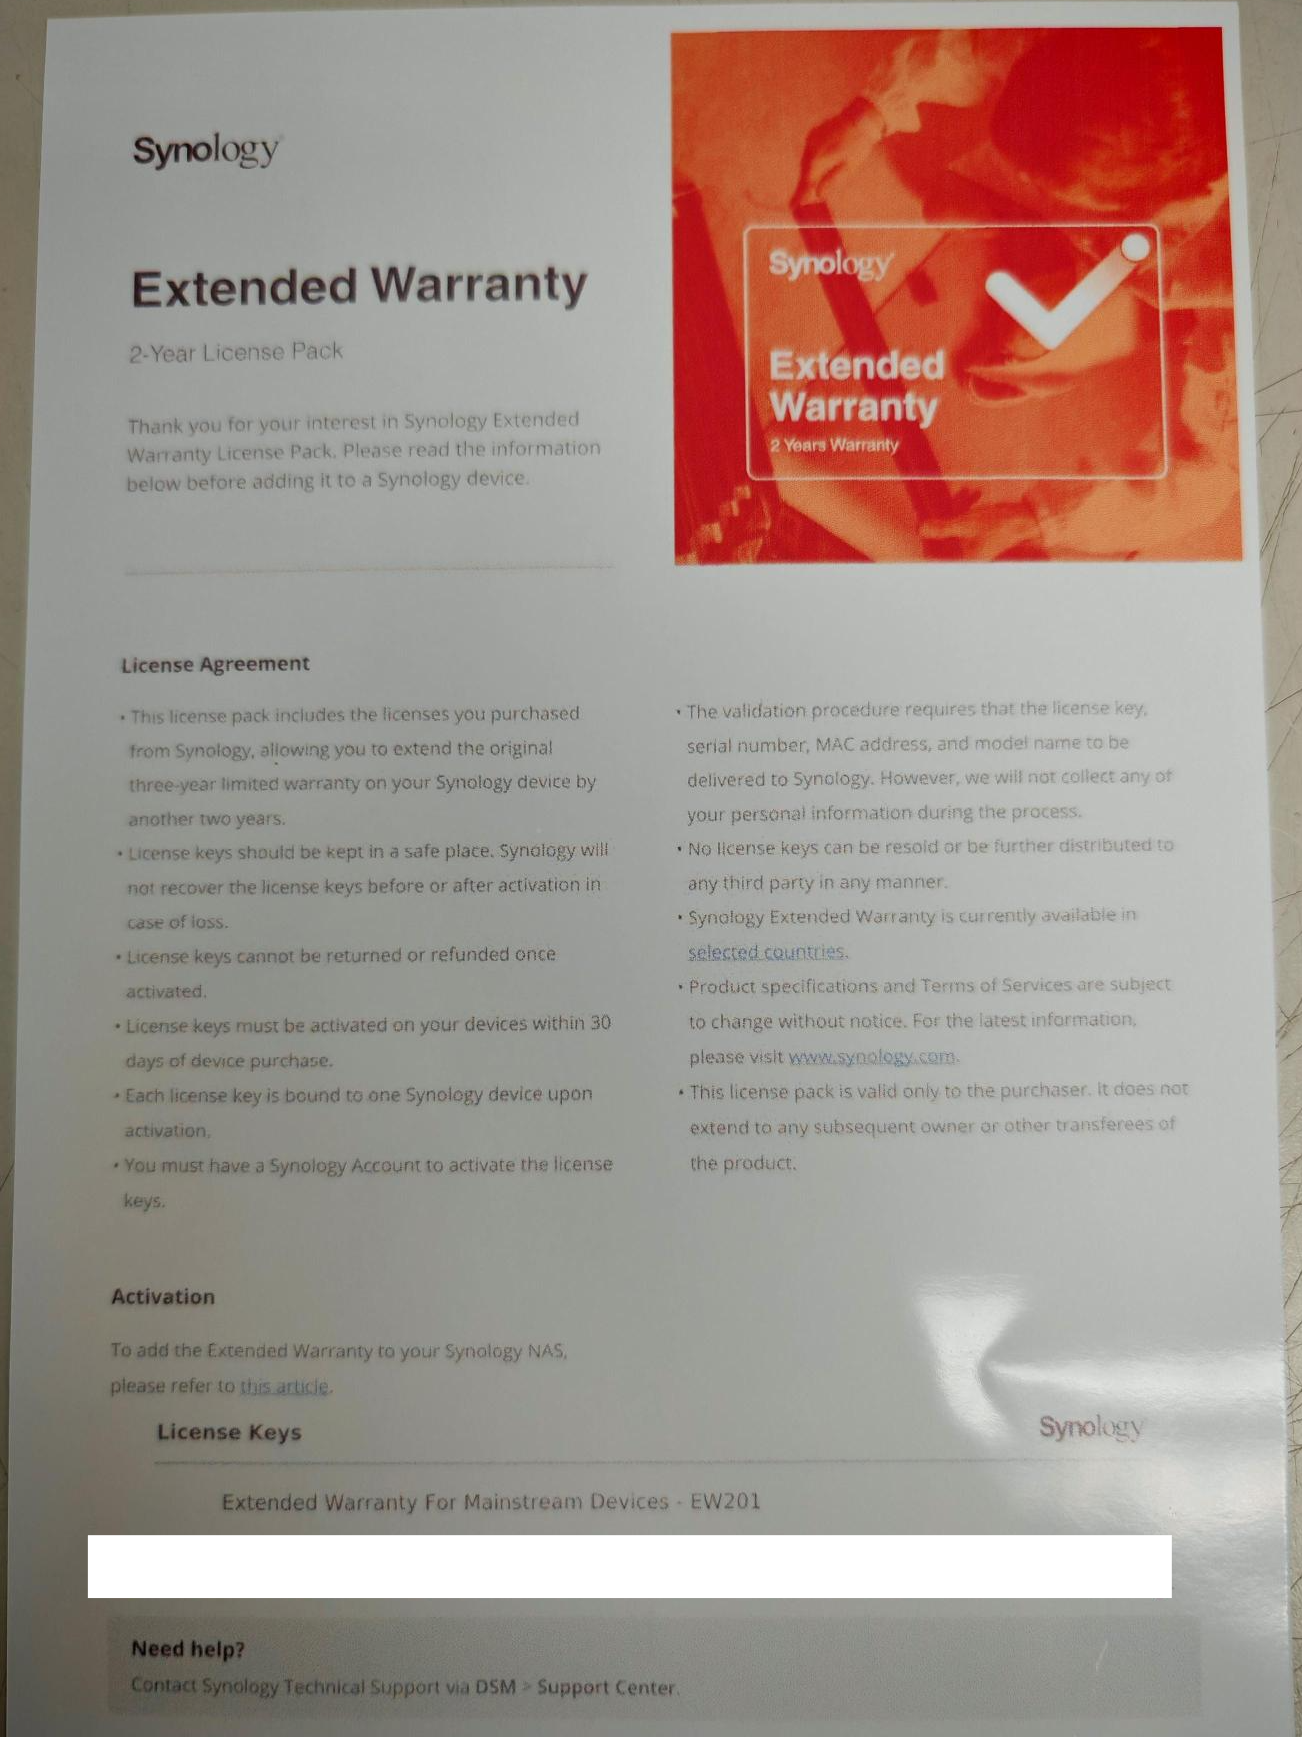
7. Warranty file look like this.
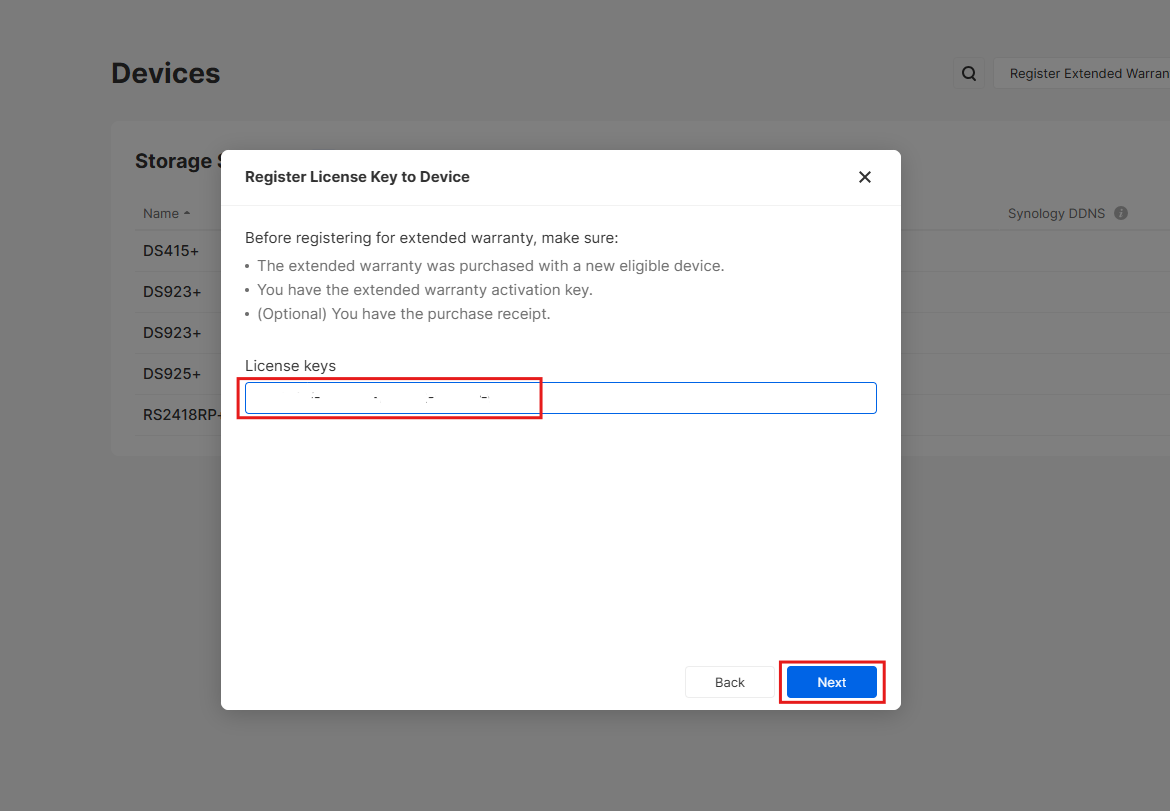
- Enter the license key and "Next".
- Enter purchase date and receipt.
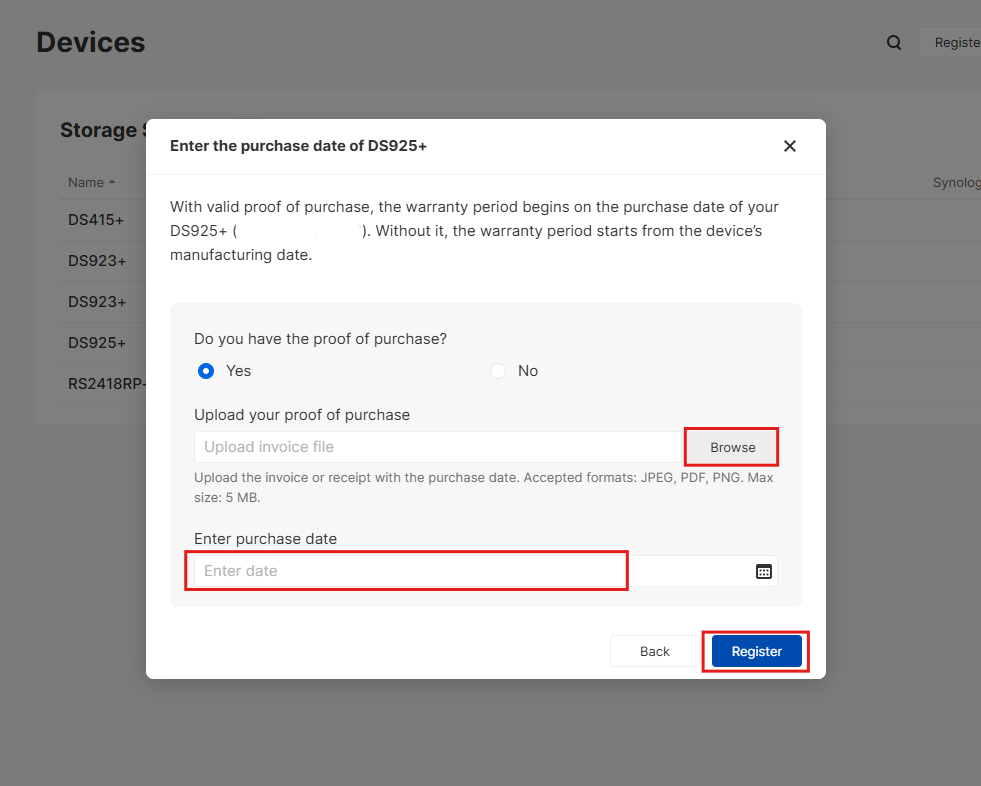
10. Register.
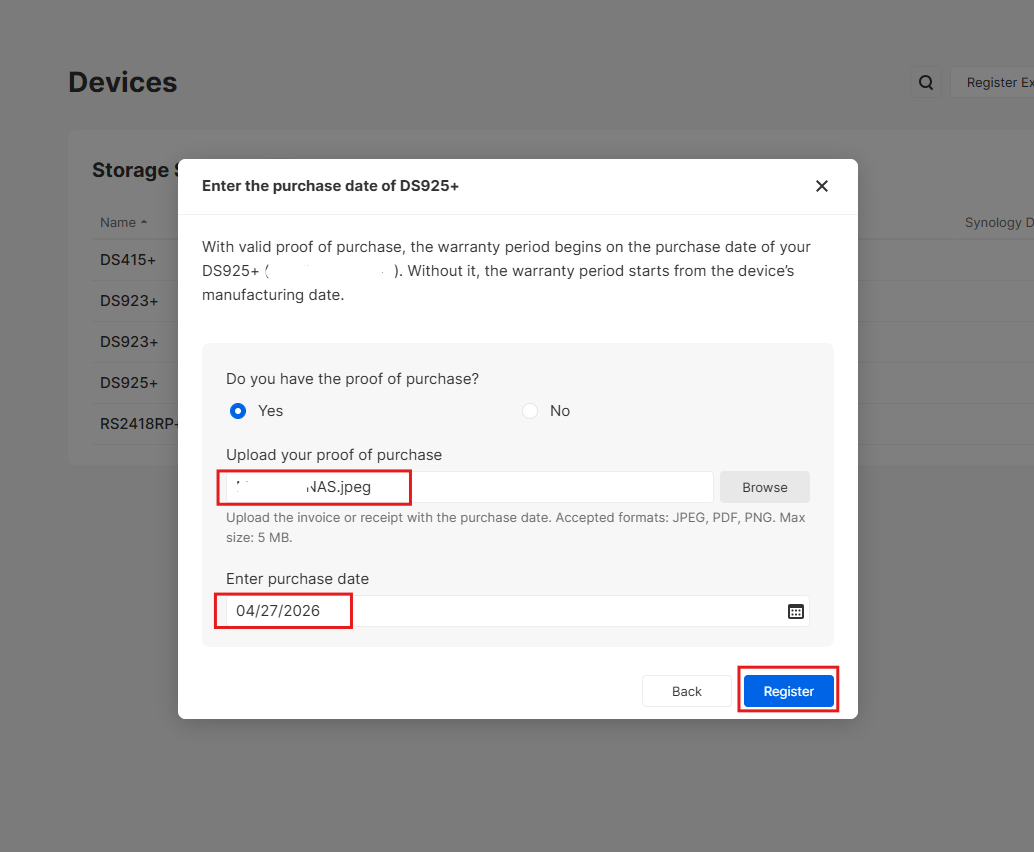
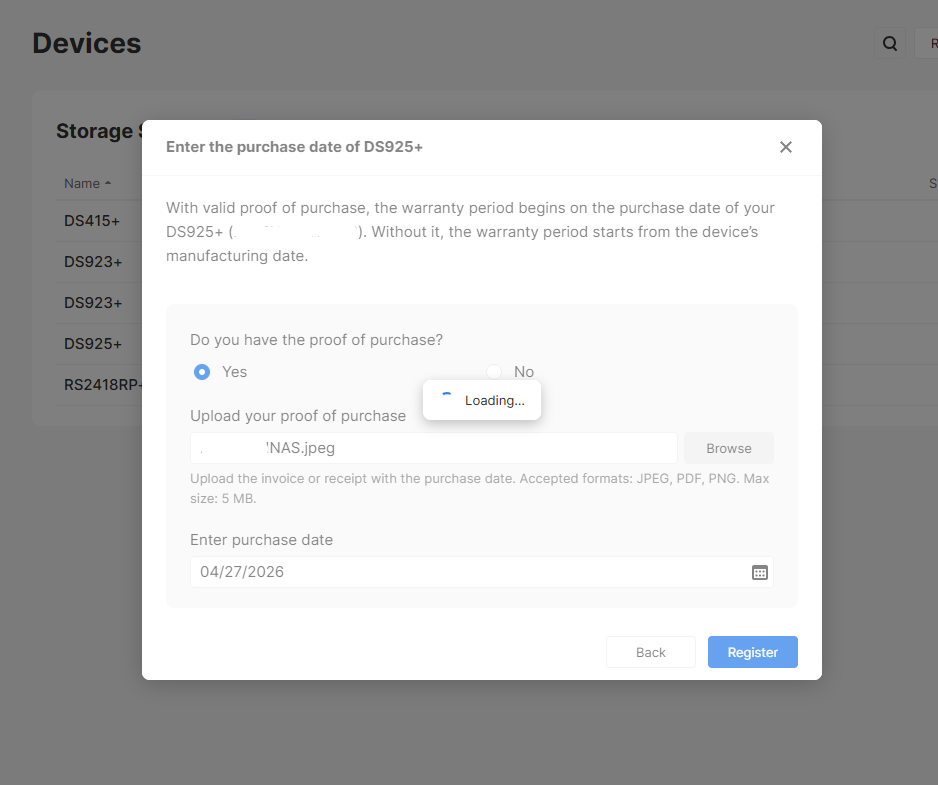
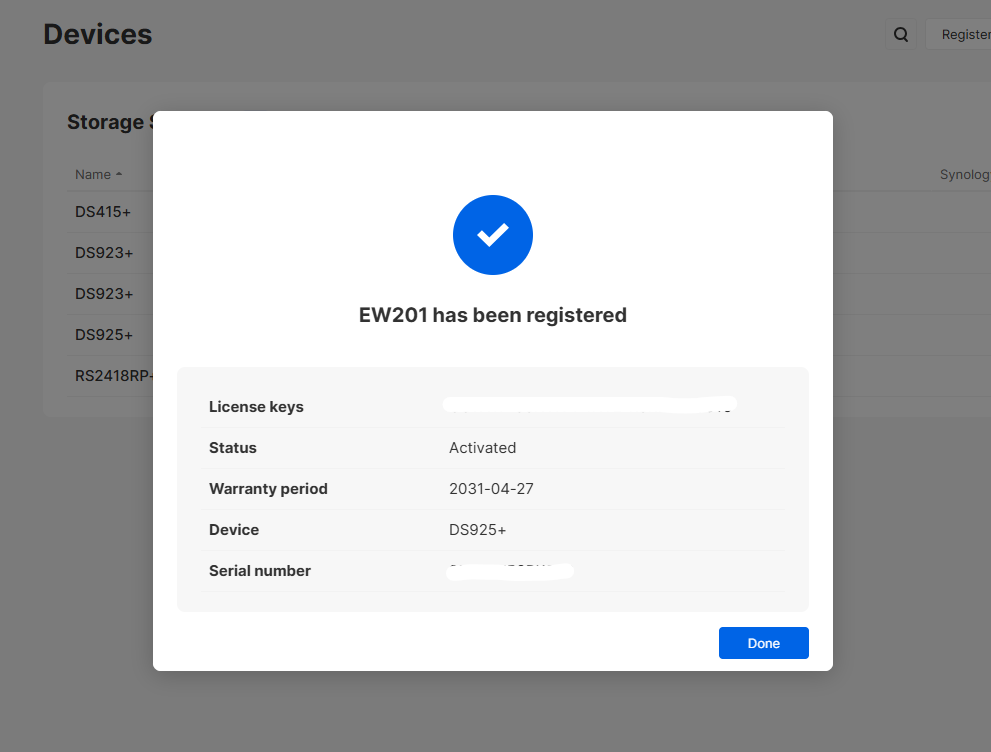
11. Warranty EW201 has been registered to your NAS.
- In Synology account will listed the new device.
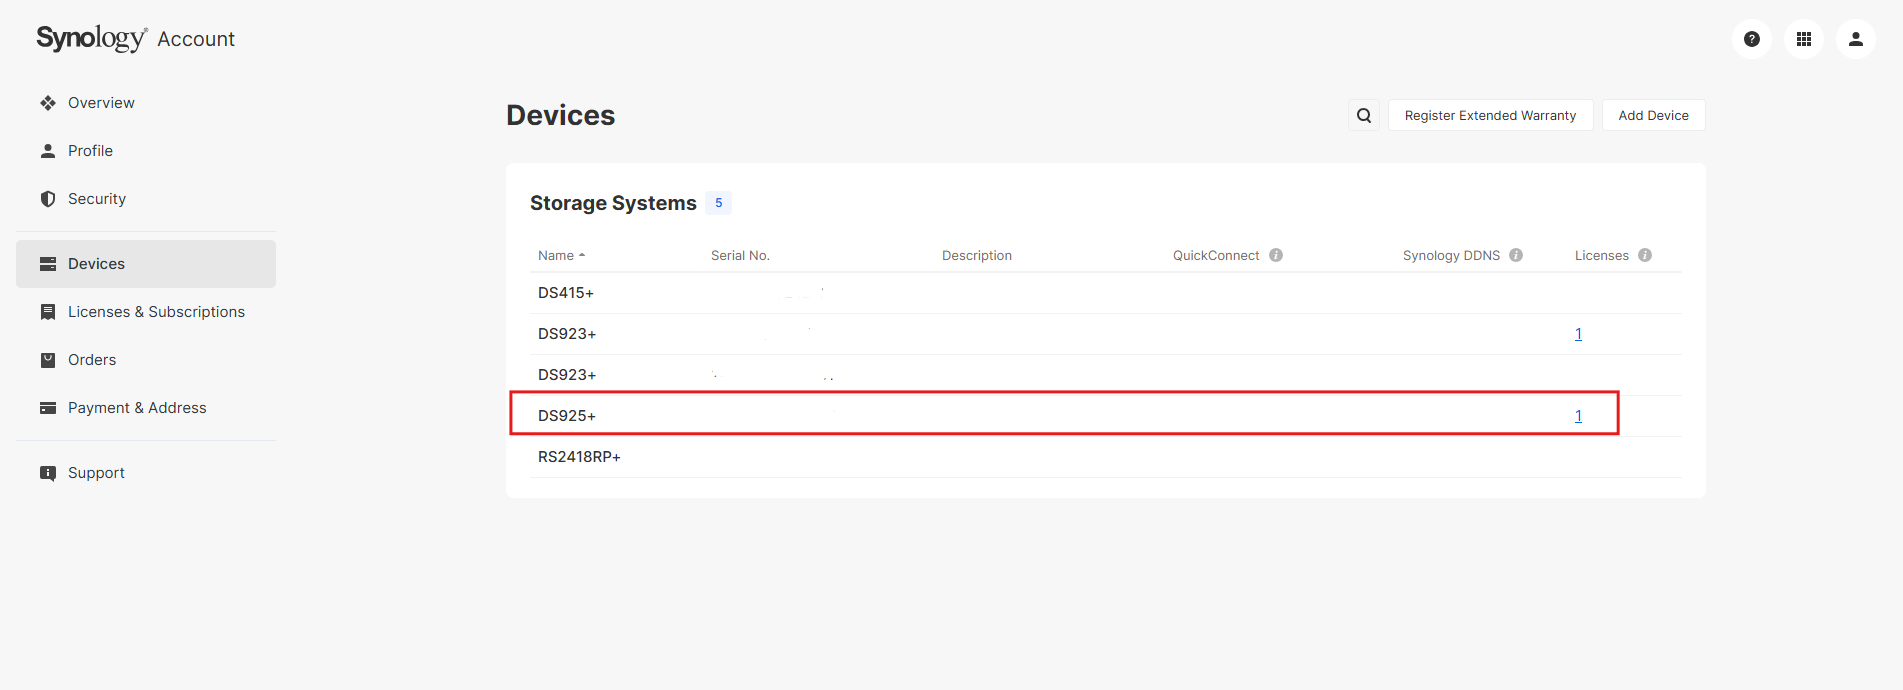
13. Enter to see detials in your new device.
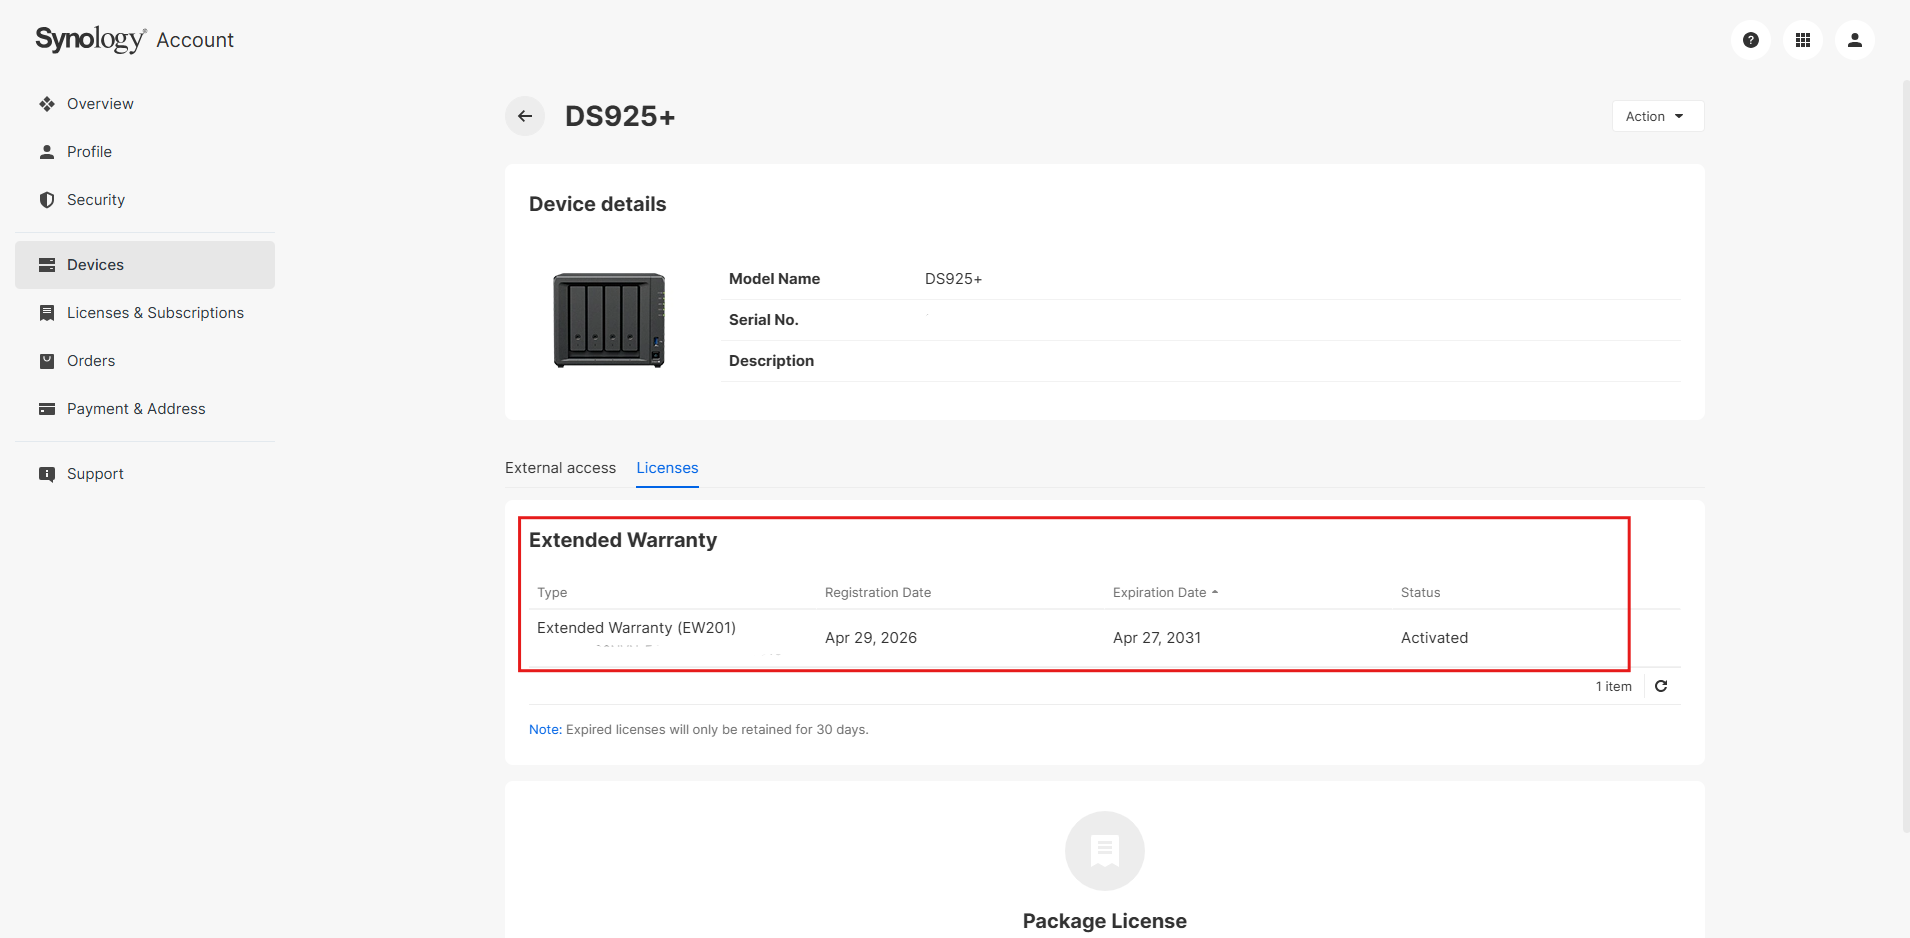
14. Recheck Extended Warranty information.