
How to check and set up a Hikvision IP camera initially.


This is a basic method to test the functionality of a Hikvision IP camera to see if it can receive DHCP and display images normally.
- There are two options for turning on the camera.
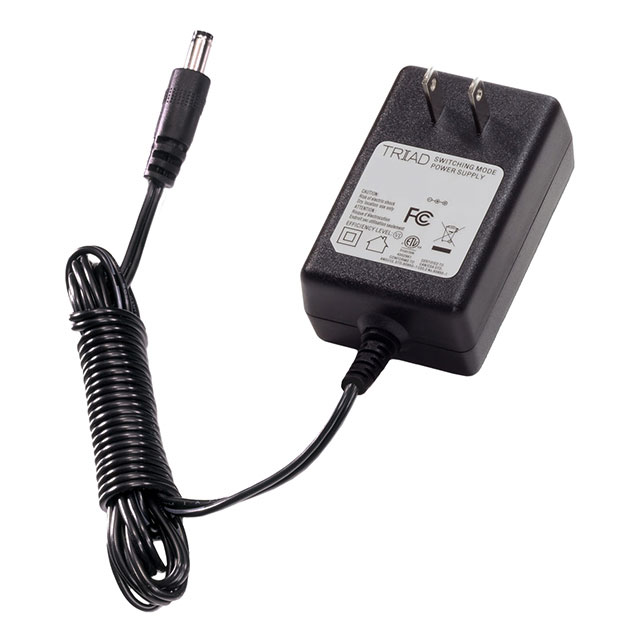
1.1 Use a 12V, 0.4A adapter to connect directly to the HIKVISION camera power cord.
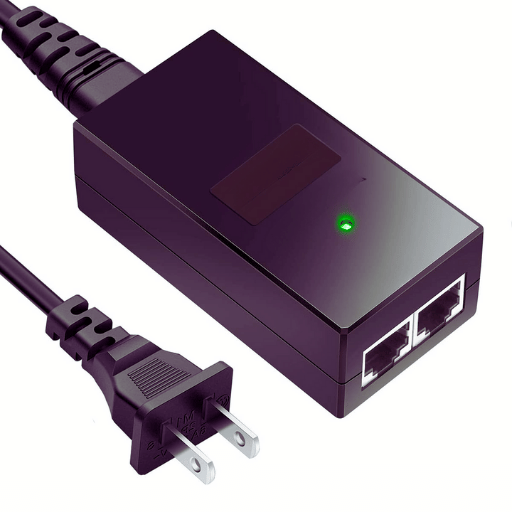
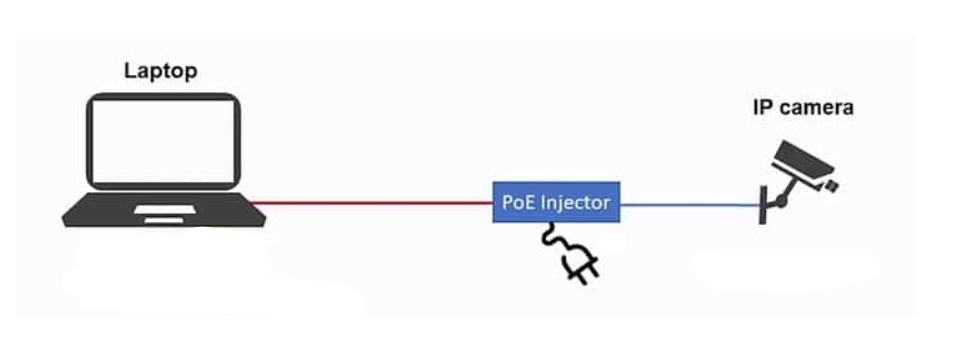
1.2 Use a PoE LAN cable.
- Connect the camera directly to the computer using a LAN cable.
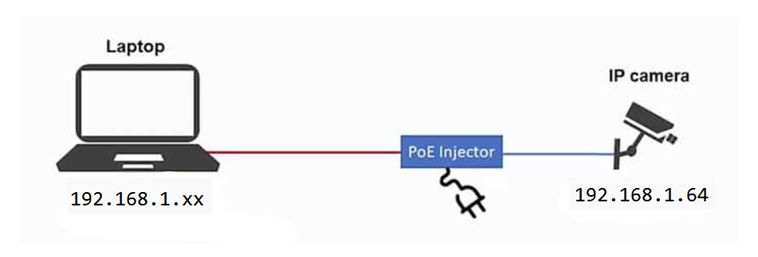
- Ensure your fixed IP computer is in the same network as the camera. The default IP address for HIKVISION cameras is 192.168.1.64. Make sure your fixed IP computer is in the 192.168.1.xx range.
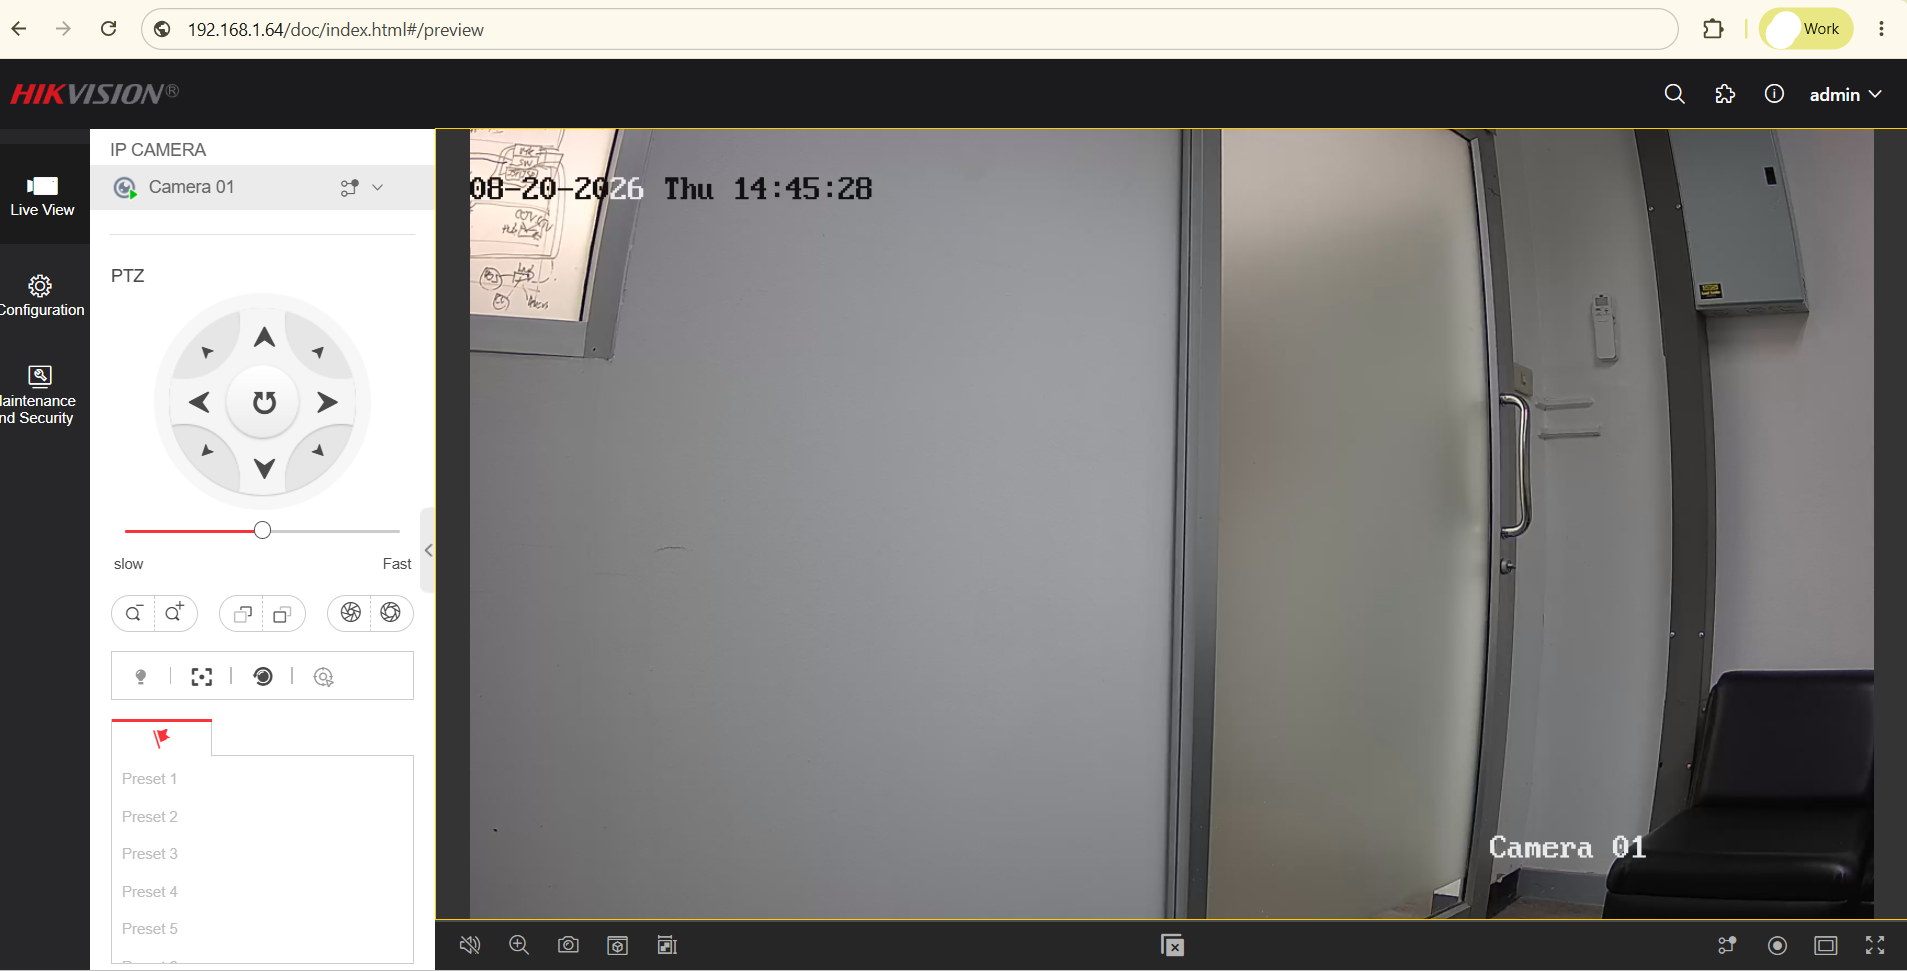
- Open your web browser with the URL: 192.168.1.64. The image from the camera will be displayed immediately.
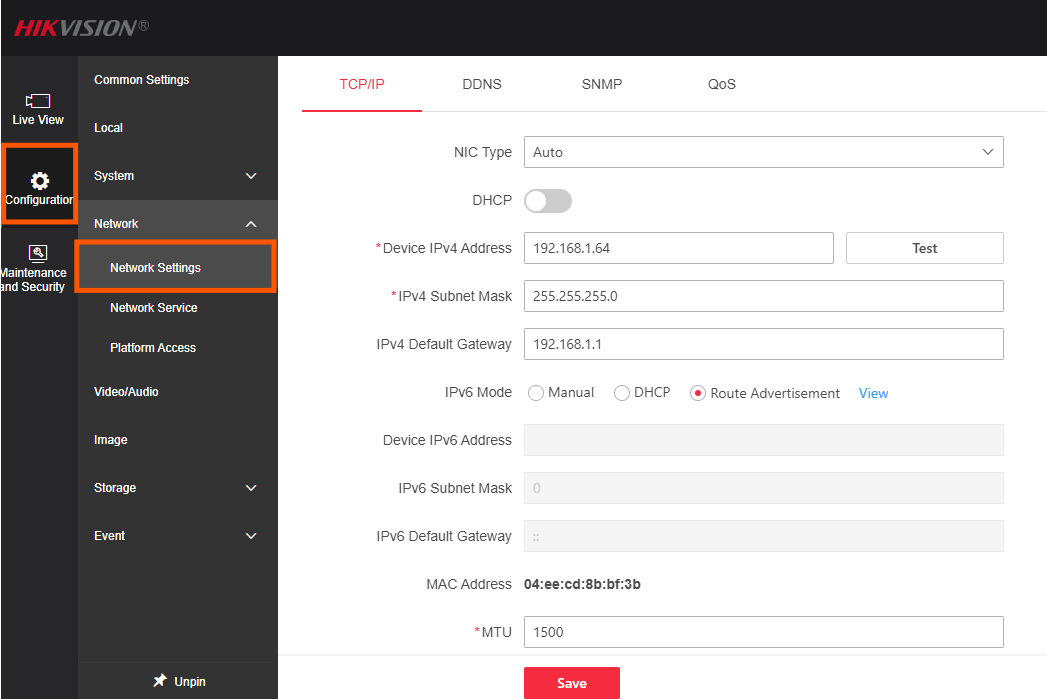
- You can check your Network IP address in the Network > Network Settings menu.
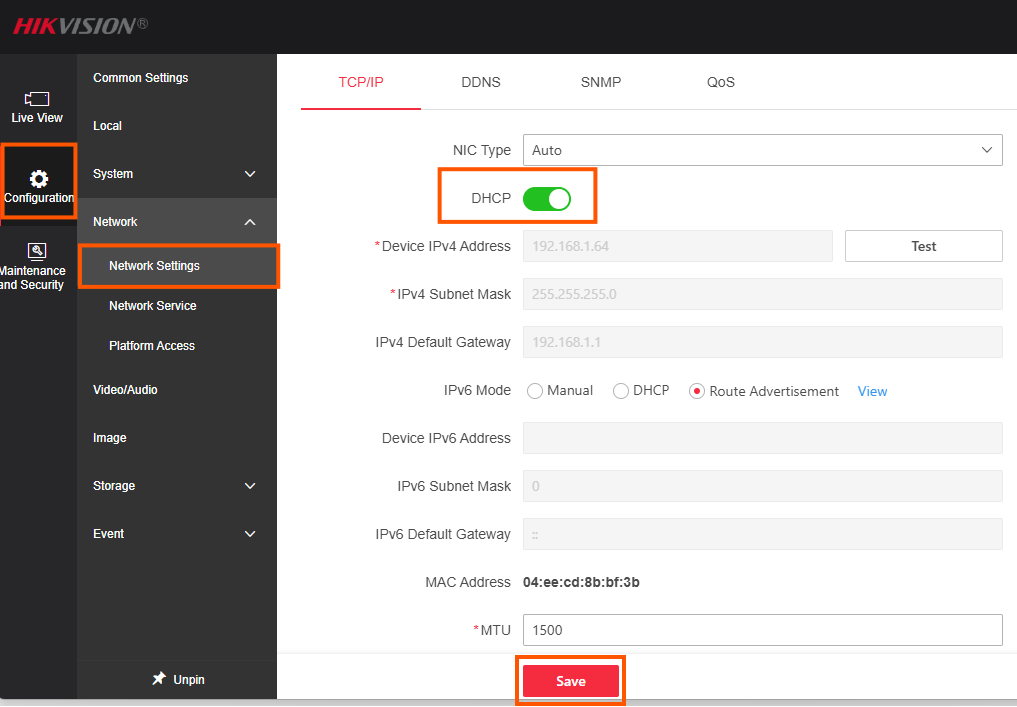
- By default, the network settings will show a static IP address. Change it to DHCP and click Save.
- Connect the camera to the network you've prepared to configure it to match your actual site conditions. Once connected to the network, the camera will immediately receive a DHCP IP address, allowing you to customize the settings as needed on-site.
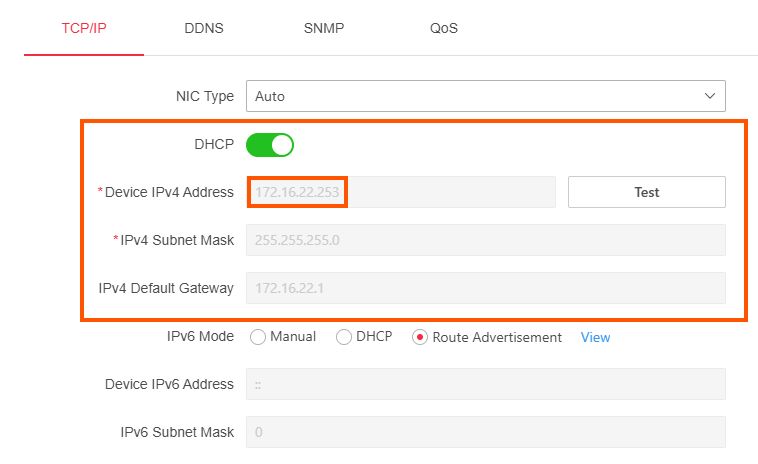
finished.
end..