
How to install a printer via a Network Print Server.


Adding a printer via a network print server can be done quickly through the "Add a device" menu in Windows, by selecting to connect via the print server's IP address or searching for it on the network.
Here's how to set it up:
Connecting via IP Address (recommended for office printers): This method is the most stable and accurate, requiring the print server's IP address to be known.
- Go to Settings > Devices > Printers & scanners on your computer.
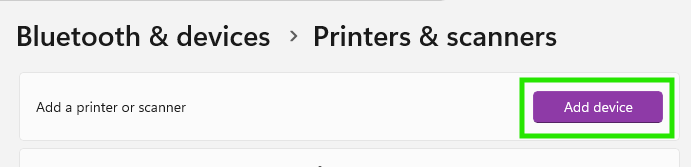
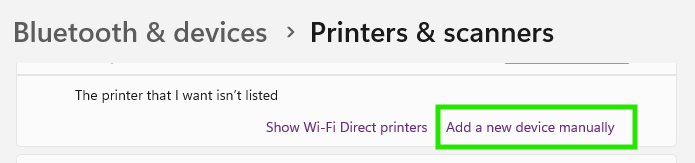
- Click "Add a printer or scanner" and wait for the system to search until the message "The printer that I want isn't listed" appears, then click on "Add a new device manually"
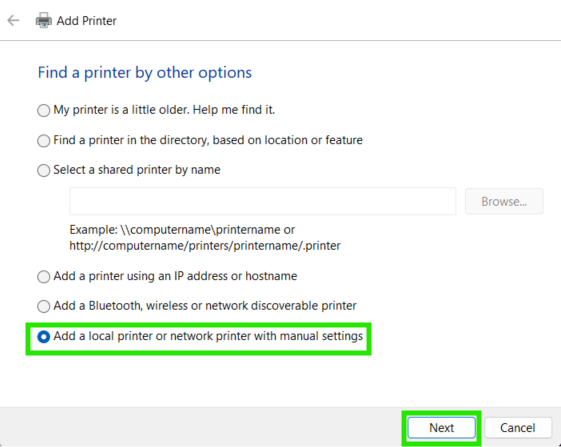
- Select "Add a local printer or network printer with manual settings" and then press Next.
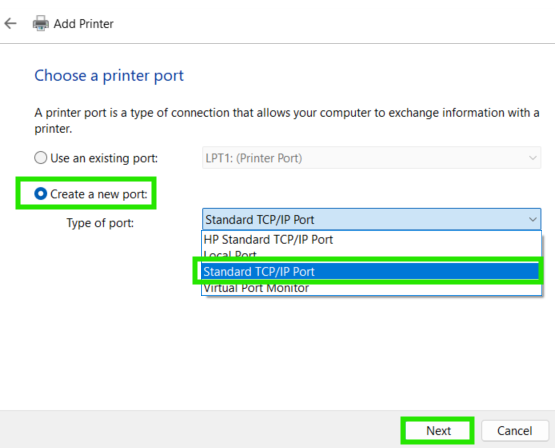
- Select "Create a new port" > then select "Standard TCP/IP Port" and then press Next.
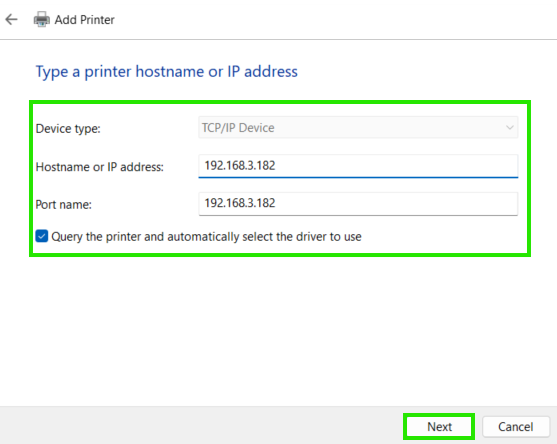
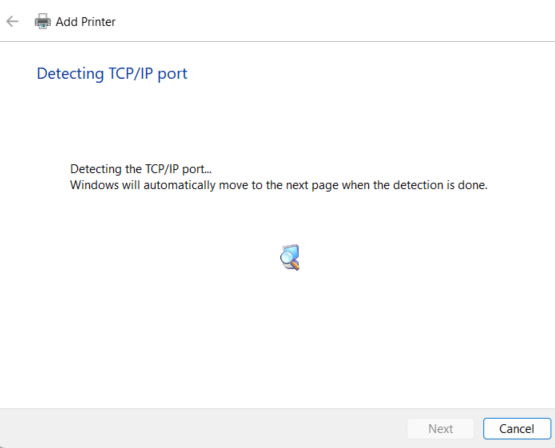
- Fill in the details IP Print Server and then press Next.
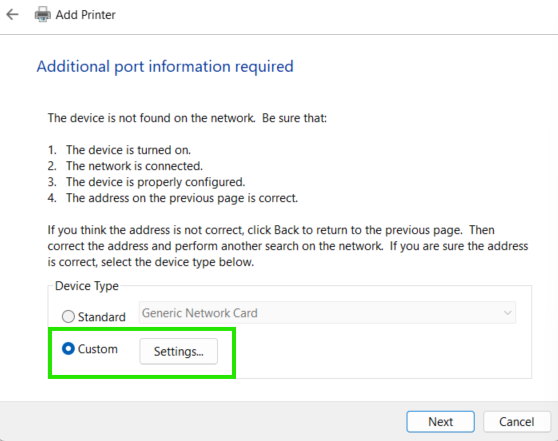
- Select "Custom" then click on "Settings...".
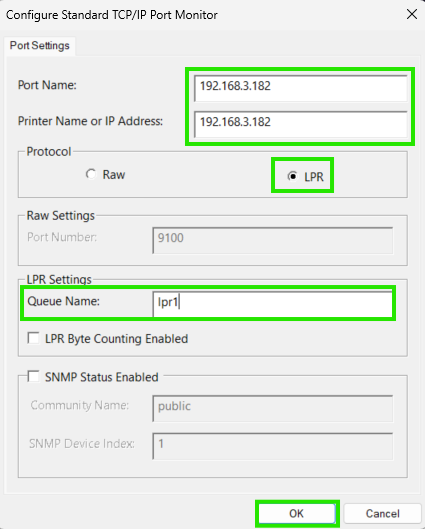
- Fill in the details and then press OK and Next.
- Select your the printer and then press Next.
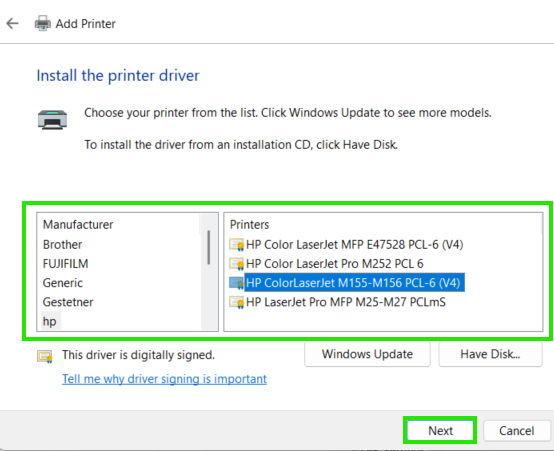
- press Next again.
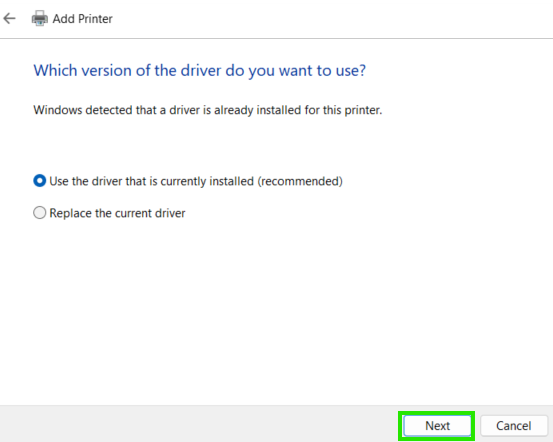
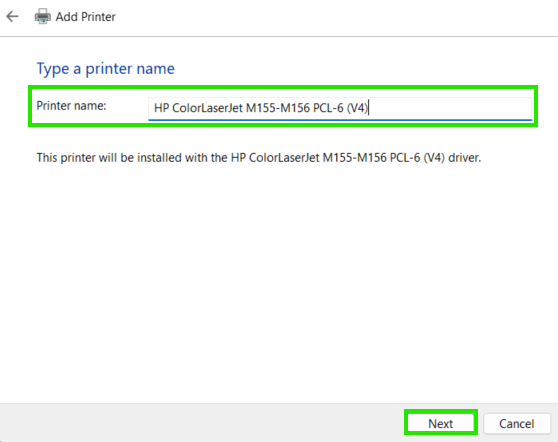
- Confirmation Printer name then press Next..
- Press Finish.
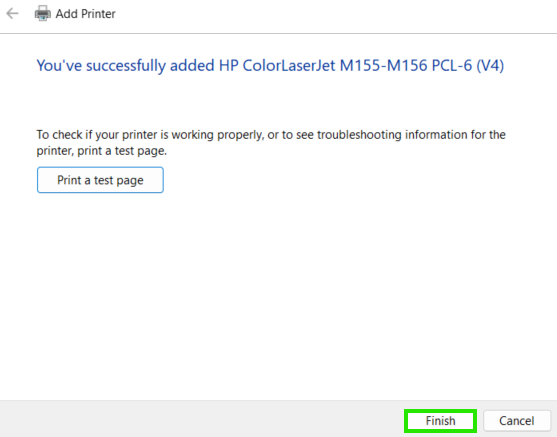
end..